Everyday dinners
A wholemeal gluten-free loaf
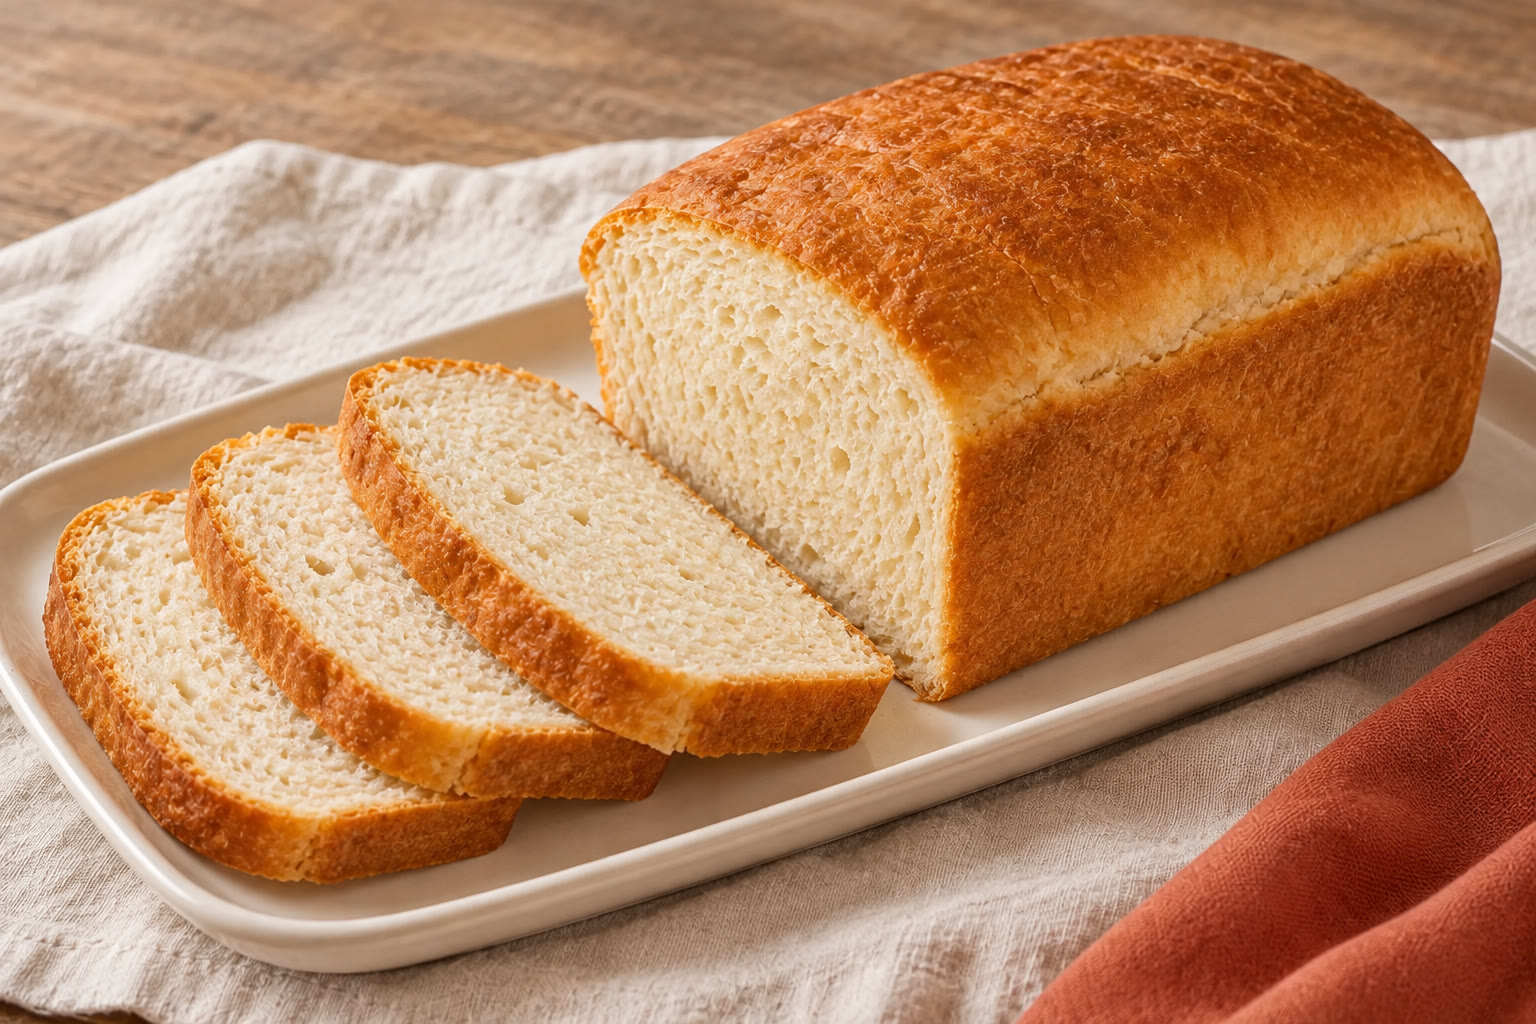
A wholemeal-style loaf made with brown rice and buckwheat flours, with tapioca starch to lighten the crumb.
Free guide: thirty gluten-free dinners, with the shopping lists
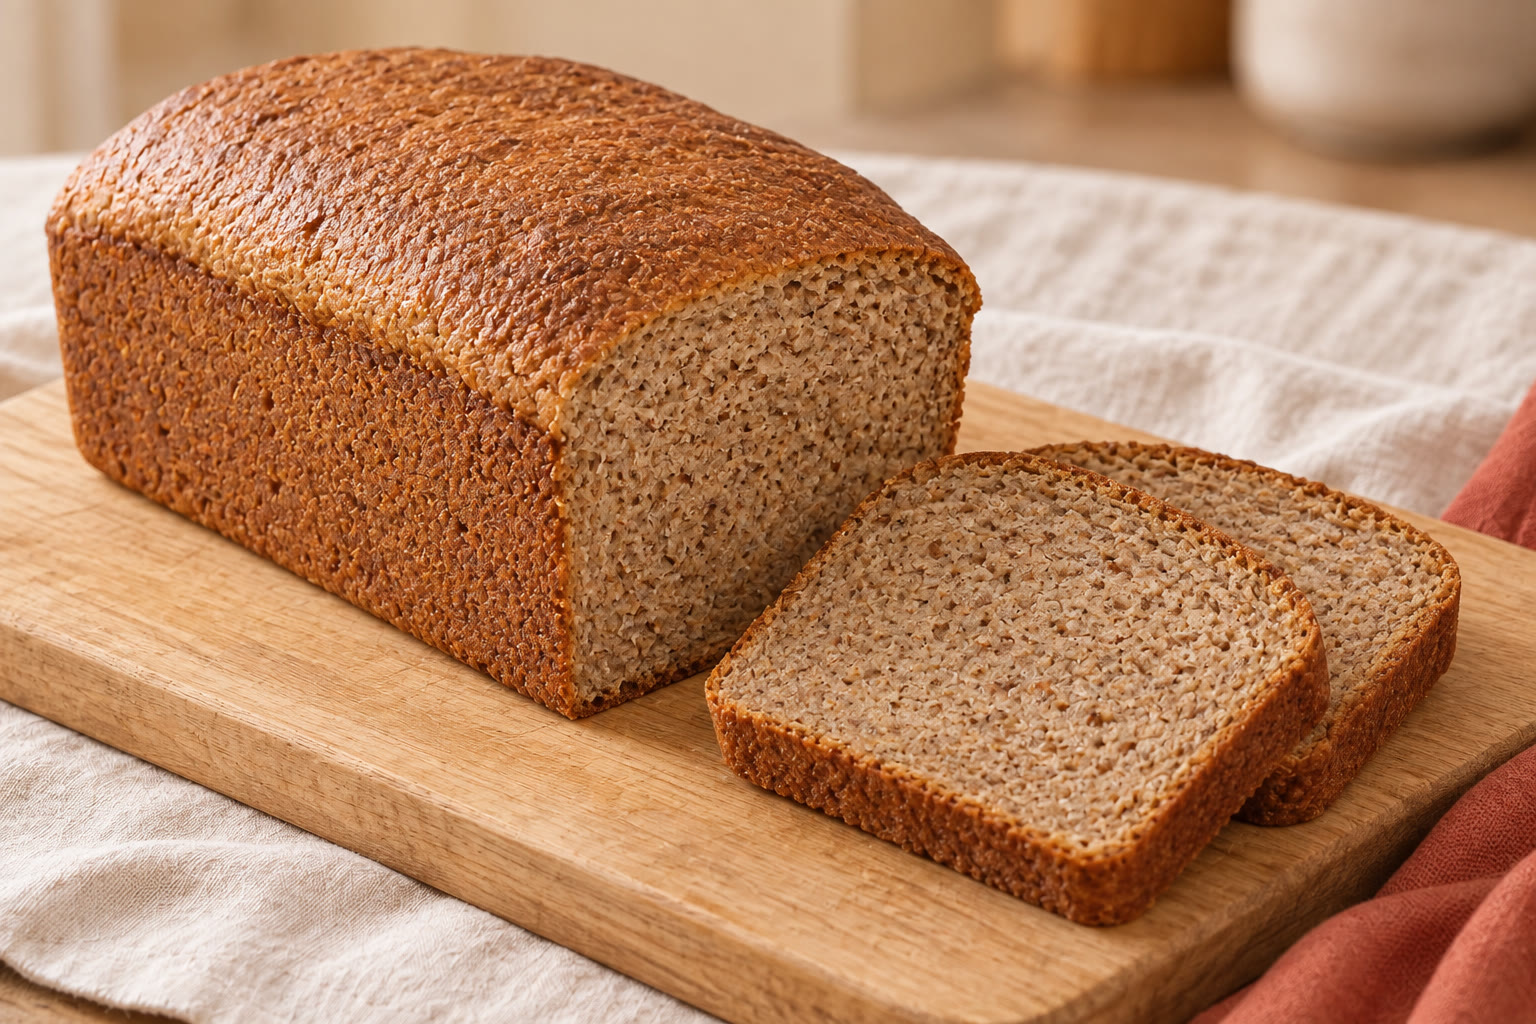
Wholegrain brown rice and buckwheat flours give this loaf its brown crumb and earthy flavour. Tapioca starch lightens the mixture, while psyllium helps hold it together. This is a wholemeal-style loaf containing starch, rather than a loaf made entirely from wholegrain flour.
Allow plenty of time for cooling before slicing. This recipe is in development and has not been kitchen-tested.
The recipe
A wholemeal gluten-free loaf
- Prep
- 20 min
- Cook
- 70 min
- Total*
- 90 min
- Makes
- 12 slices from one loaf
*Estimated development timings. Allow a further 45–75 minutes for proving and at least 180 minutes for cooling. These standing times are additional to the 90-minute preparation and cooking total, making approximately 5 hours 15 minutes to 5 hours 45 minutes before slicing. Extra baking or cooling will extend this.
Ingredients
Tick things off as you go.
For the loaf
Equipment
- Use digital scales capable of measuring small quantities accurately.
- Use a large mixing bowl, a medium bowl, a whisk and a sturdy spoon or spatula.
- Use a measuring jug and a food thermometer suitable for water and bread.
- Use a metal loaf tin with an internal capacity of approximately 2 litres.
- Use baking parchment, a clean cover for proving, oven gloves and a wire cooling rack.
- Have kitchen foil ready to protect the crust if needed.
- Use a serrated bread knife for slicing.
Let’s make it.
- 01
Prepare the tin
Wash your hands with soap and warm water and clean the worktop before starting. Line the base and sides of the loaf tin with baking parchment. Press the folds into the corners so the lining sits neatly against the tin.
- 02
Make the psyllium gel
Measure the water temperature: it should be approximately 30–35°C. Pour all 480 ml into the medium bowl and whisk in the whole psyllium husks. Leave for 5 minutes, included in the preparation time, then stir in the rapeseed oil. The mixture should form a thick gel without dry clusters of husk.
- 03
Mix the dough
Mix the brown rice flour, buckwheat flour, tapioca starch, instant yeast, sugar and salt in the large bowl until the colour is even. Add the gel and work everything together with a sturdy spoon, then squeeze and fold by hand for about 4 minutes. Scrape up any flour from the bottom. The dough should be soft and tacky but hold together in a mound, without dry pockets. Do not taste uncooked dough.
- 04
Shape the loaf
Gather the dough into a short log and lower it into the lined tin. Use the spatula to ease it into the corners and smooth the surface. Check that the dough is evenly spread, with no large gaps along the sides. Do not knead in extra flour. After handling the dough, wash your hands with soap and warm water, then clean bowls, utensils and flour-covered surfaces with warm, soapy water.
- 05
Let it rise
Cover loosely and leave in a warm, draught-free spot for approximately 45–75 minutes. It is ready when its height has increased by roughly one-third to one-half and the top looks gently rounded. Do not wait for it to double. During proving, heat the oven to 220°C / 200°C fan so it reaches temperature before the loaf is ready.
- 06
Bake the loaf
Remove the cover and bake on the lower-middle shelf for 20 minutes. Reduce the oven to 200°C / 180°C fan and bake for another 40 minutes, loosely covering the top with foil if it becomes dark brown. Using oven gloves, remove the loaf from the tin and peel away the parchment. Bake directly on the shelf for a further 10 minutes. Check that the sides and base are firm and that the centre measures approximately 98°C with a food thermometer. This temperature is a texture guide, not a validated food-safety threshold. If the sides are still soft or the centre is cooler, bake for another 5–10 minutes and check again.
- 07
Cool before slicing
Transfer to a wire rack and leave uncovered for at least 3 hours, and longer if the loaf still feels warm. Slice with a serrated knife once completely cool. The slices should hold together and the knife should come away without wet dough. Do not eat a centre that remains visibly uncooked; a wet, paste-like crumb means this loaf has not reached the intended result.
Ingredient checks
For someone with coeliac disease, choose brown rice flour, buckwheat flour, tapioca starch, psyllium husks and yeast labelled gluten-free. Check all packaged ingredients for gluten-containing additions and other allergens. Follow the flour packets' handling instructions. Keep wheat flour away from the preparation area and use clean equipment, worktops and a clean loaf tin.
Allergens: None of the specified ingredients intentionally contains the 14 UK regulated allergens: celery, cereals containing gluten, crustaceans, eggs, fish, lupin, milk, molluscs, mustard, tree nuts, peanuts, sesame, soya or sulphites.; Check every packet for allergenic ingredients and cross-contact warnings, including any replacement ingredients.; Buckwheat is not wheat, but choose buckwheat flour labelled gluten-free..
Make it work for you
Replace the rapeseed oil with the same weight of sunflower oil or mild olive oil.
Replace the caster sugar with the same weight of white granulated sugar.
Use whole psyllium husks as specified; psyllium powder and xanthan gum are not direct replacements.
Do not replace the individual flours and starch with a ready-mixed gluten-free bread flour, because its binders and liquid requirements may differ.
For another day
Let the loaf cool completely before wrapping so steam does not collect inside the wrapping.
Keep the wrapped loaf in a cool, dry bread bin and aim to use it within 2 days; this is a provisional quality guide, not a tested shelf life.
For longer storage, freeze the cooled loaf in slices, separated with baking parchment and sealed in a freezer bag.
Aim to use frozen slices within 1 month for quality; this recipe's freezer life has not been tested.
Remove only the slices needed and toast directly from frozen, using a separate toaster or a suitable toaster bag if the toaster is shared with gluten-containing bread.
Exploding food
What goes in.
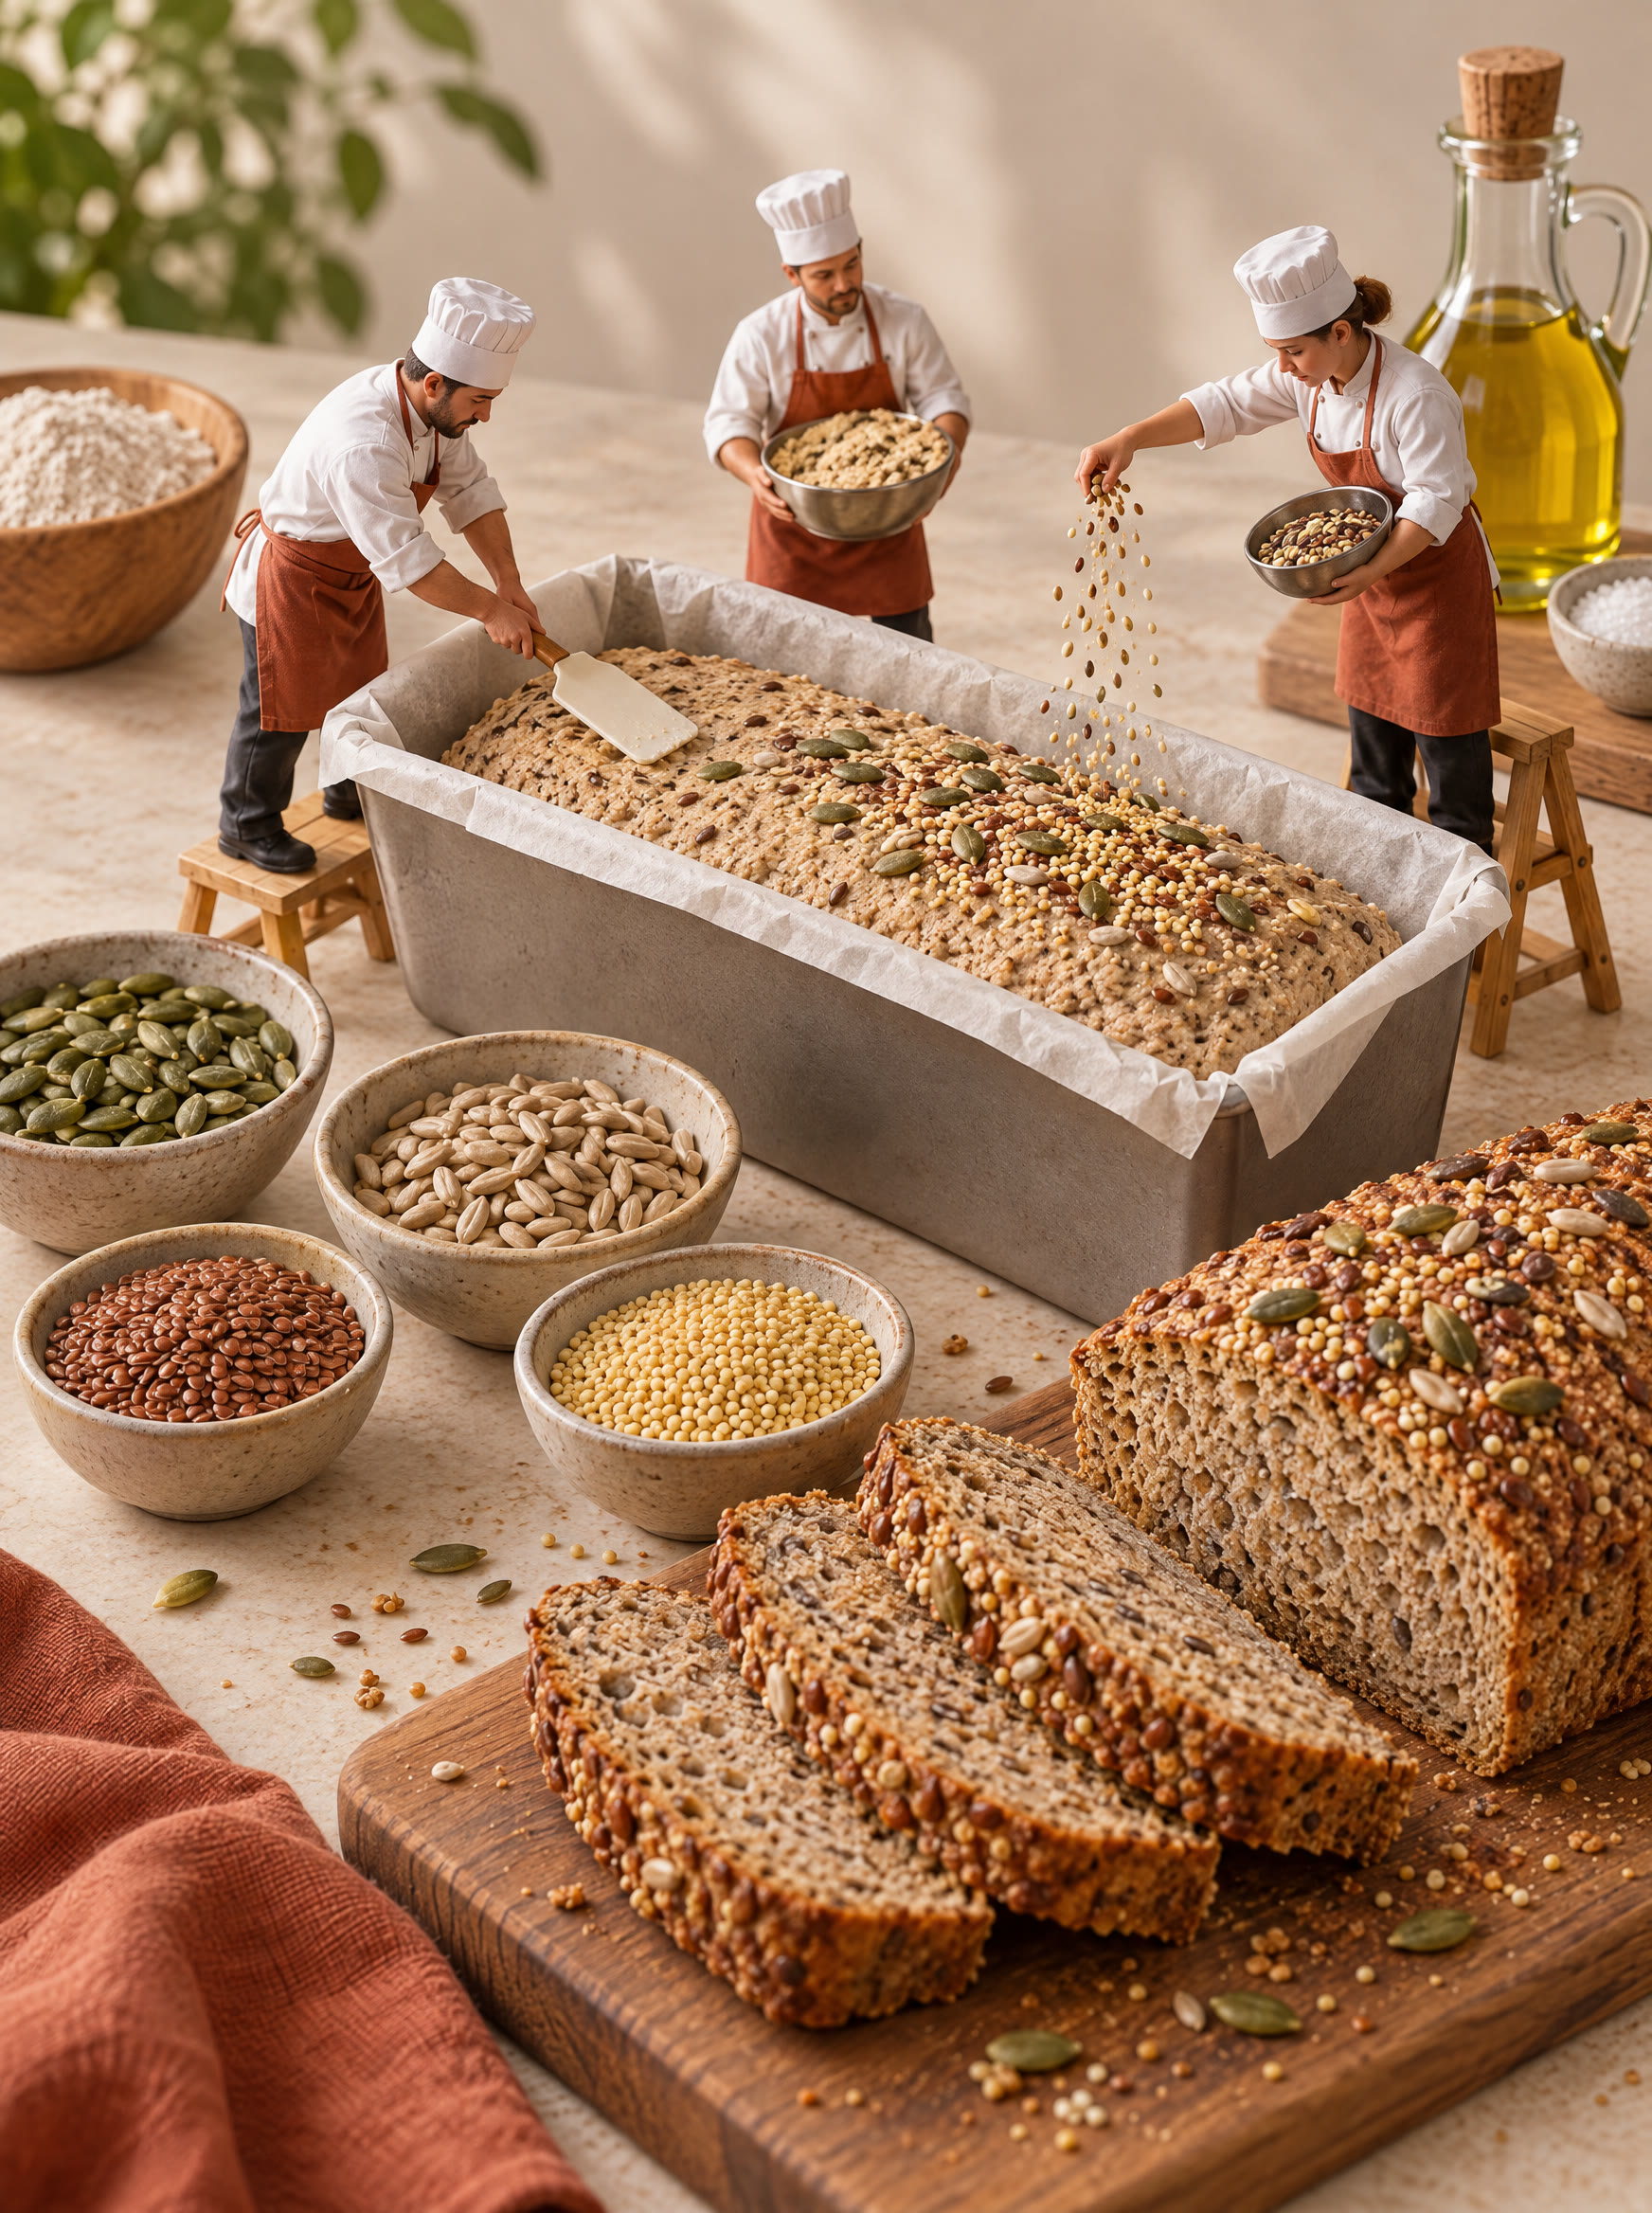
The ingredients, seen a little differently. This image is an illustration of the main ingredients; use the written recipe for the full list and quantities.
See the collection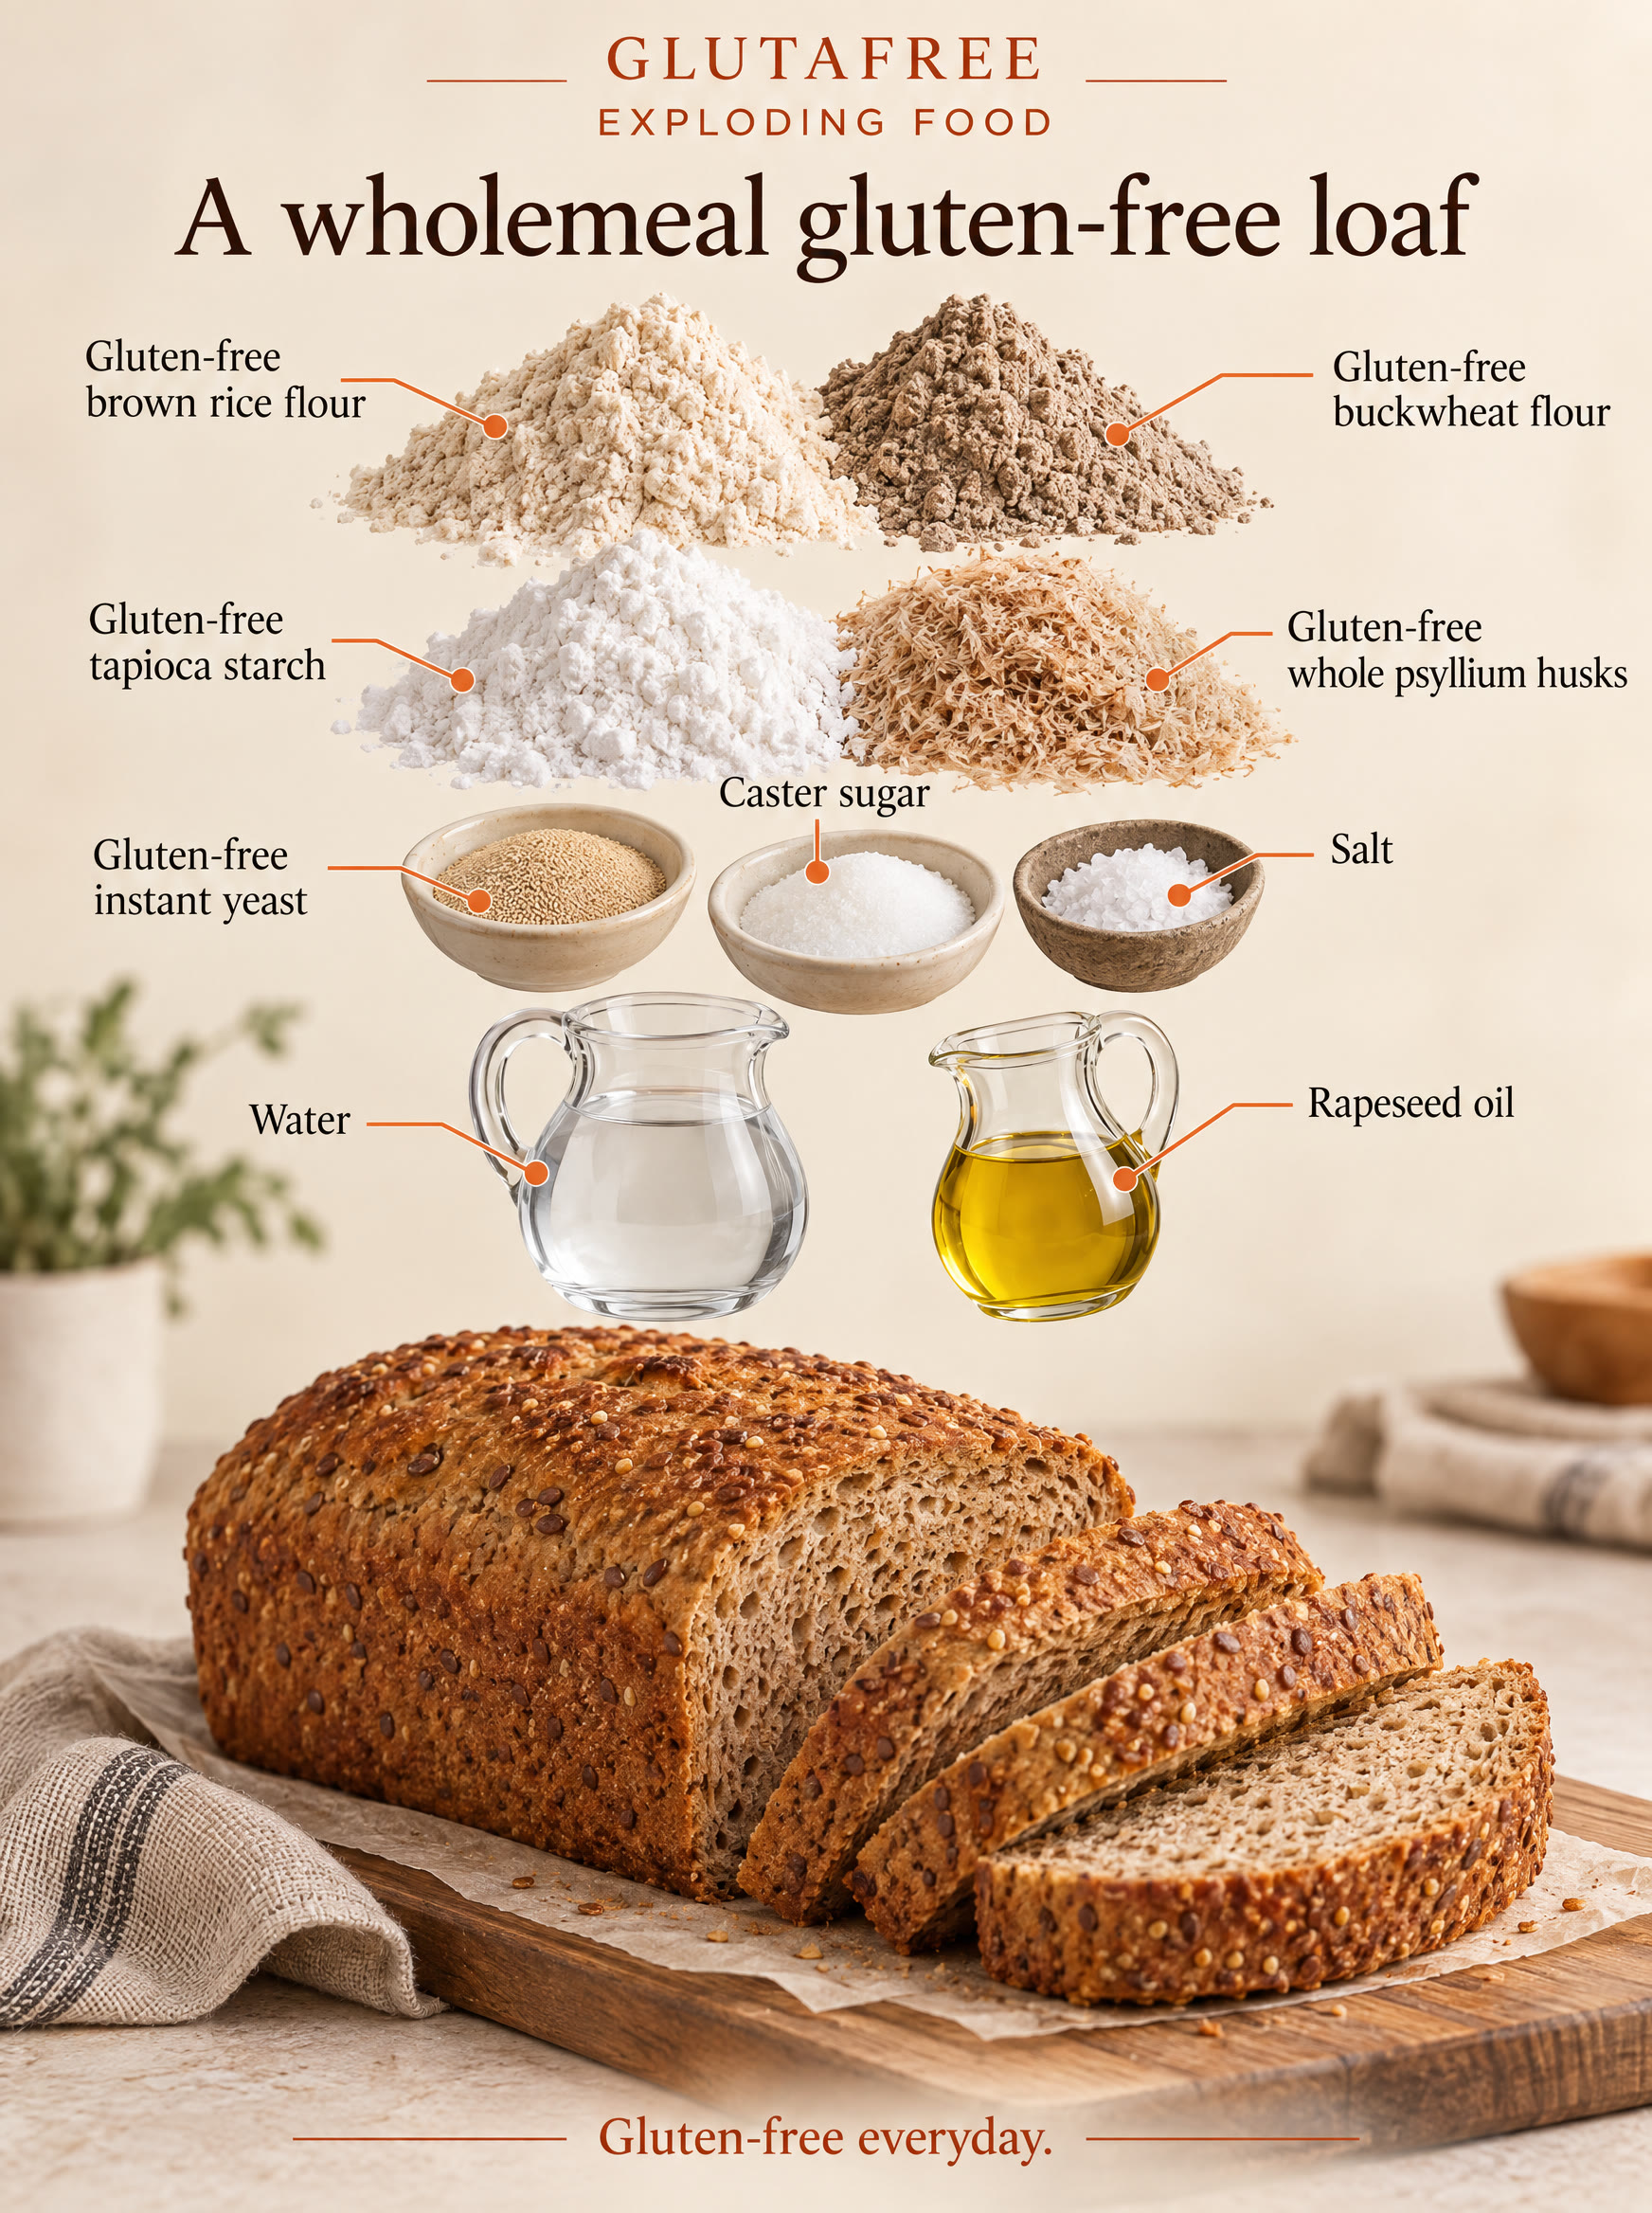
The miniature kitchen
Tiny chefs.
Big ideas.
A playful look at the same familiar favourite. Meet the little team behind our food illustrations.
Explore the tiny kitchen