Everyday dinners
Gluten-free bread in a bread maker
A bread-maker loaf for sandwiches, toast and serving alongside soup, made with gluten-free white bread flour.
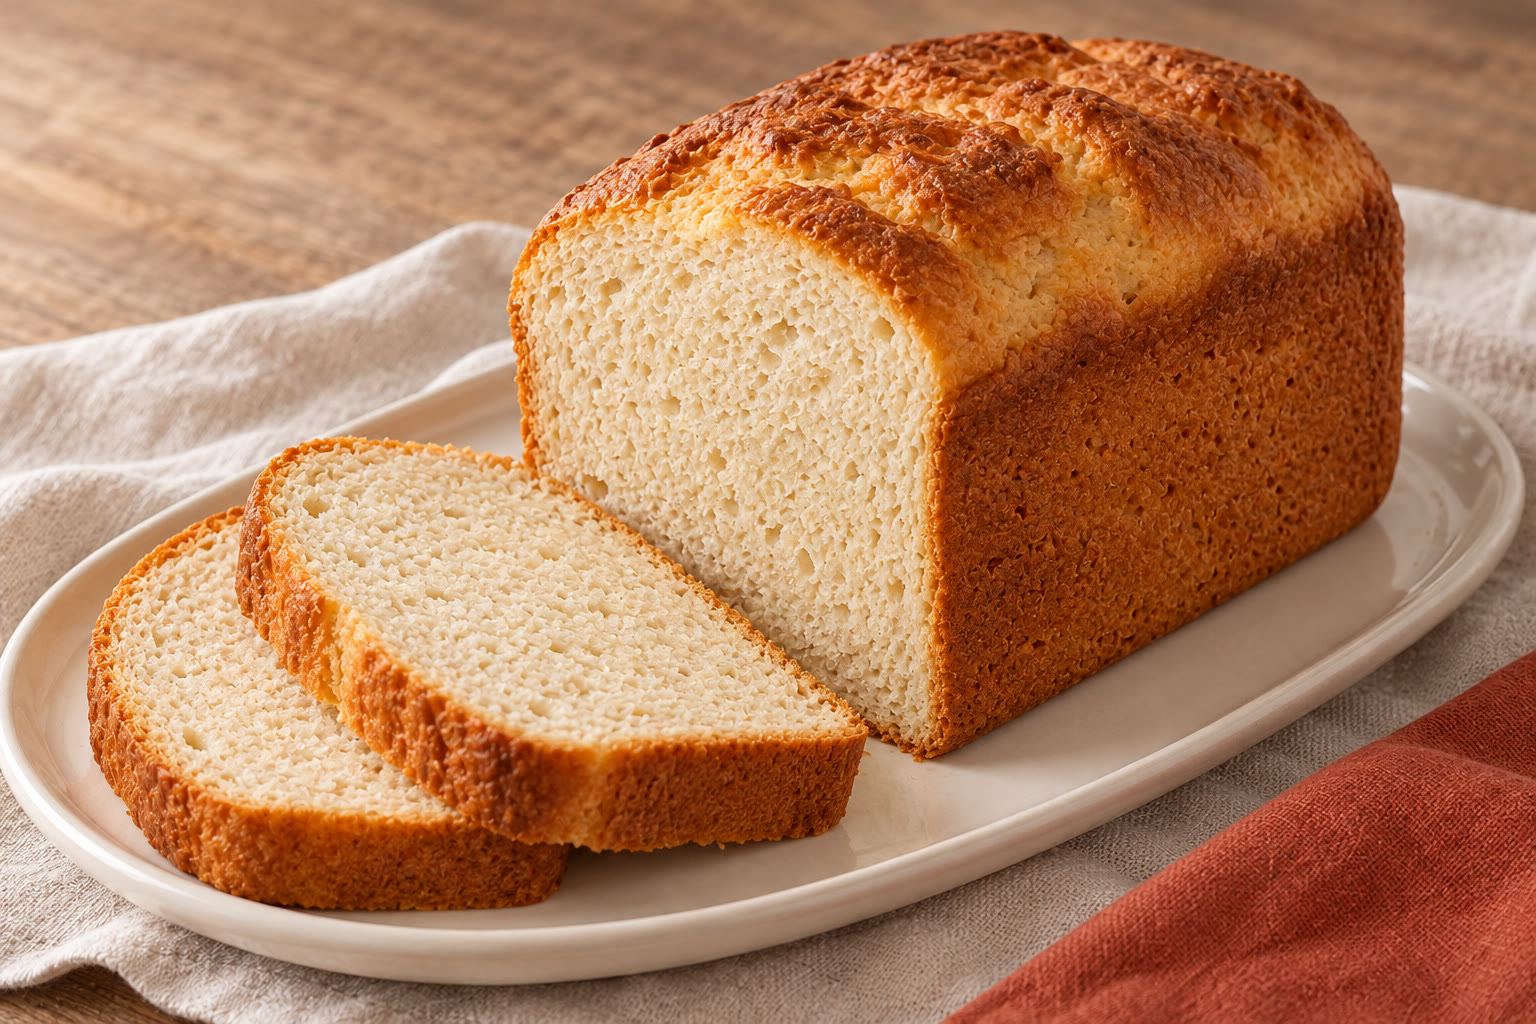
This loaf uses a bread maker for mixing, rising and baking. It makes about 12 slices, or six servings of two slices.
Use the specified gluten-free bread flour and check your machine's capacity before starting. Gluten-free flour blends absorb liquid differently, so swapping the flour can change the result. This recipe is in development and has not been kitchen-tested.
The recipe
Gluten-free bread in a bread maker
- Prep
- 15 min
- Cook
- 120 min
- Total*
- 135 min
- Makes
- 6 servings
*Estimated development timings. Allow about 2 hours for cooling before slicing. The cooking estimate includes the machine's mixing, rising and baking stages; replace it with your programme's actual duration when planning.
Ingredients
Tick things off as you go.
For the loaf
Equipment
- Use a bread maker with a gluten-free programme, a pan of at least 2.4 litres and manufacturer guidance permitting this quantity of ingredients.
- Use digital scales, a measuring jug and measuring spoons.
- Have a mixing bowl and whisk ready.
- Use oven gloves, a wire cooling rack, a clean food thermometer and a bread knife.
Let’s make it.
- 01
Prepare the machine
Check the manual permits a recipe with 450 g flour and these liquids. Clean the pan, paddle, utensils and worktop thoroughly, checking that no old dough or crumbs remain around the paddle shaft. Fit the paddle securely. Use the ingredient temperature and loading order specified by your machine.
- 02
Combine the liquids
Whisk the eggs, milk, oil and vinegar until evenly combined with no strands of egg white. Wash your hands and clean any surfaces touched by raw egg. Do not taste the uncooked mixture.
- 03
Fill the pan
Unless the manual specifies another order, pour in the liquids, cover with the flour, add salt and sugar, then scatter yeast over the flour. Check all measured ingredients have gone into the pan.
- 04
Run the programme
Lock the pan in place and select the gluten-free programme, using the manual's appropriate loaf setting and dark crust if available. Start immediately; do not use a delayed start with eggs and milk. Check the display confirms the selected programme has begun. Keep the lid closed during rising and baking.
- 05
Check the bake
When the programme finishes, use oven gloves to remove the pan. The loaf should have firm sides and a set top. Check the centre with a clean thermometer, avoiding the paddle: aim for 95–98°C as a bread-texture guide. This is separate from the FSA's general safety combination of 75°C for 30 seconds. If the centre is below the bread-texture range or visibly wet, continue using the machine's permitted bake-only function in 10-minute intervals and check again.
- 06
Cool and slice
Turn the loaf onto a rack and carefully remove any embedded paddle using the manufacturer's tool or instructions. Leave for about 2 hours, until the centre is no longer warm, before slicing. The cooled crumb should hold together without a wet, paste-like streak; do not serve an underbaked loaf.
Ingredient checks
Check flour, yeast, vinegar and any substitute drink for gluten-free suitability. Use the specified bread flour without adding extra xanthan gum. Check every label for the 14 UK allergens and relevant cross-contact warnings. For someone with coeliac disease, protect ingredients and finished bread from wheat flour and crumbs; clean the bread-maker pan and paddle thoroughly and use a separate toaster or suitable toaster bag.
Allergens: The stated recipe contains eggs and milk.; Check cider vinegar for declared sulphites and check flour and yeast labels for additional allergens.; Celery, cereals containing gluten, crustaceans, fish, lupin, molluscs, mustard, tree nuts, peanuts, sesame and soya are not intentional ingredients in the stated recipe; supplier labels and cross-contact warnings still need checking..
Make it work for you
For a milk-free version, replace the milk with 310 ml unsweetened gluten-free rice drink; check its allergens and expect the crust and crumb to differ.
Rapeseed oil can replace sunflower oil in the same quantity.
Do not replace the specified flour with plain gluten-free flour, wheat bread flour or a complete bread mix; each requires a different formula.
An egg-free version needs a separately developed recipe rather than a direct egg replacement.
For another day
Cool the loaf completely on a rack before wrapping so that condensation does not collect around it.
Keep the plain loaf in a clean, airtight container in a cool, dry place and use within 2 days; freeze spare slices as soon as they are cool.
Freeze slices in a labelled, sealed freezer bag at about -18°C, separating portions for easy removal; use within 1 month for best quality.
Defrost only the portion needed in the fridge and use within 24 hours of complete thawing.
Discard the whole remaining loaf if any mould appears.
Exploding food
What goes in.
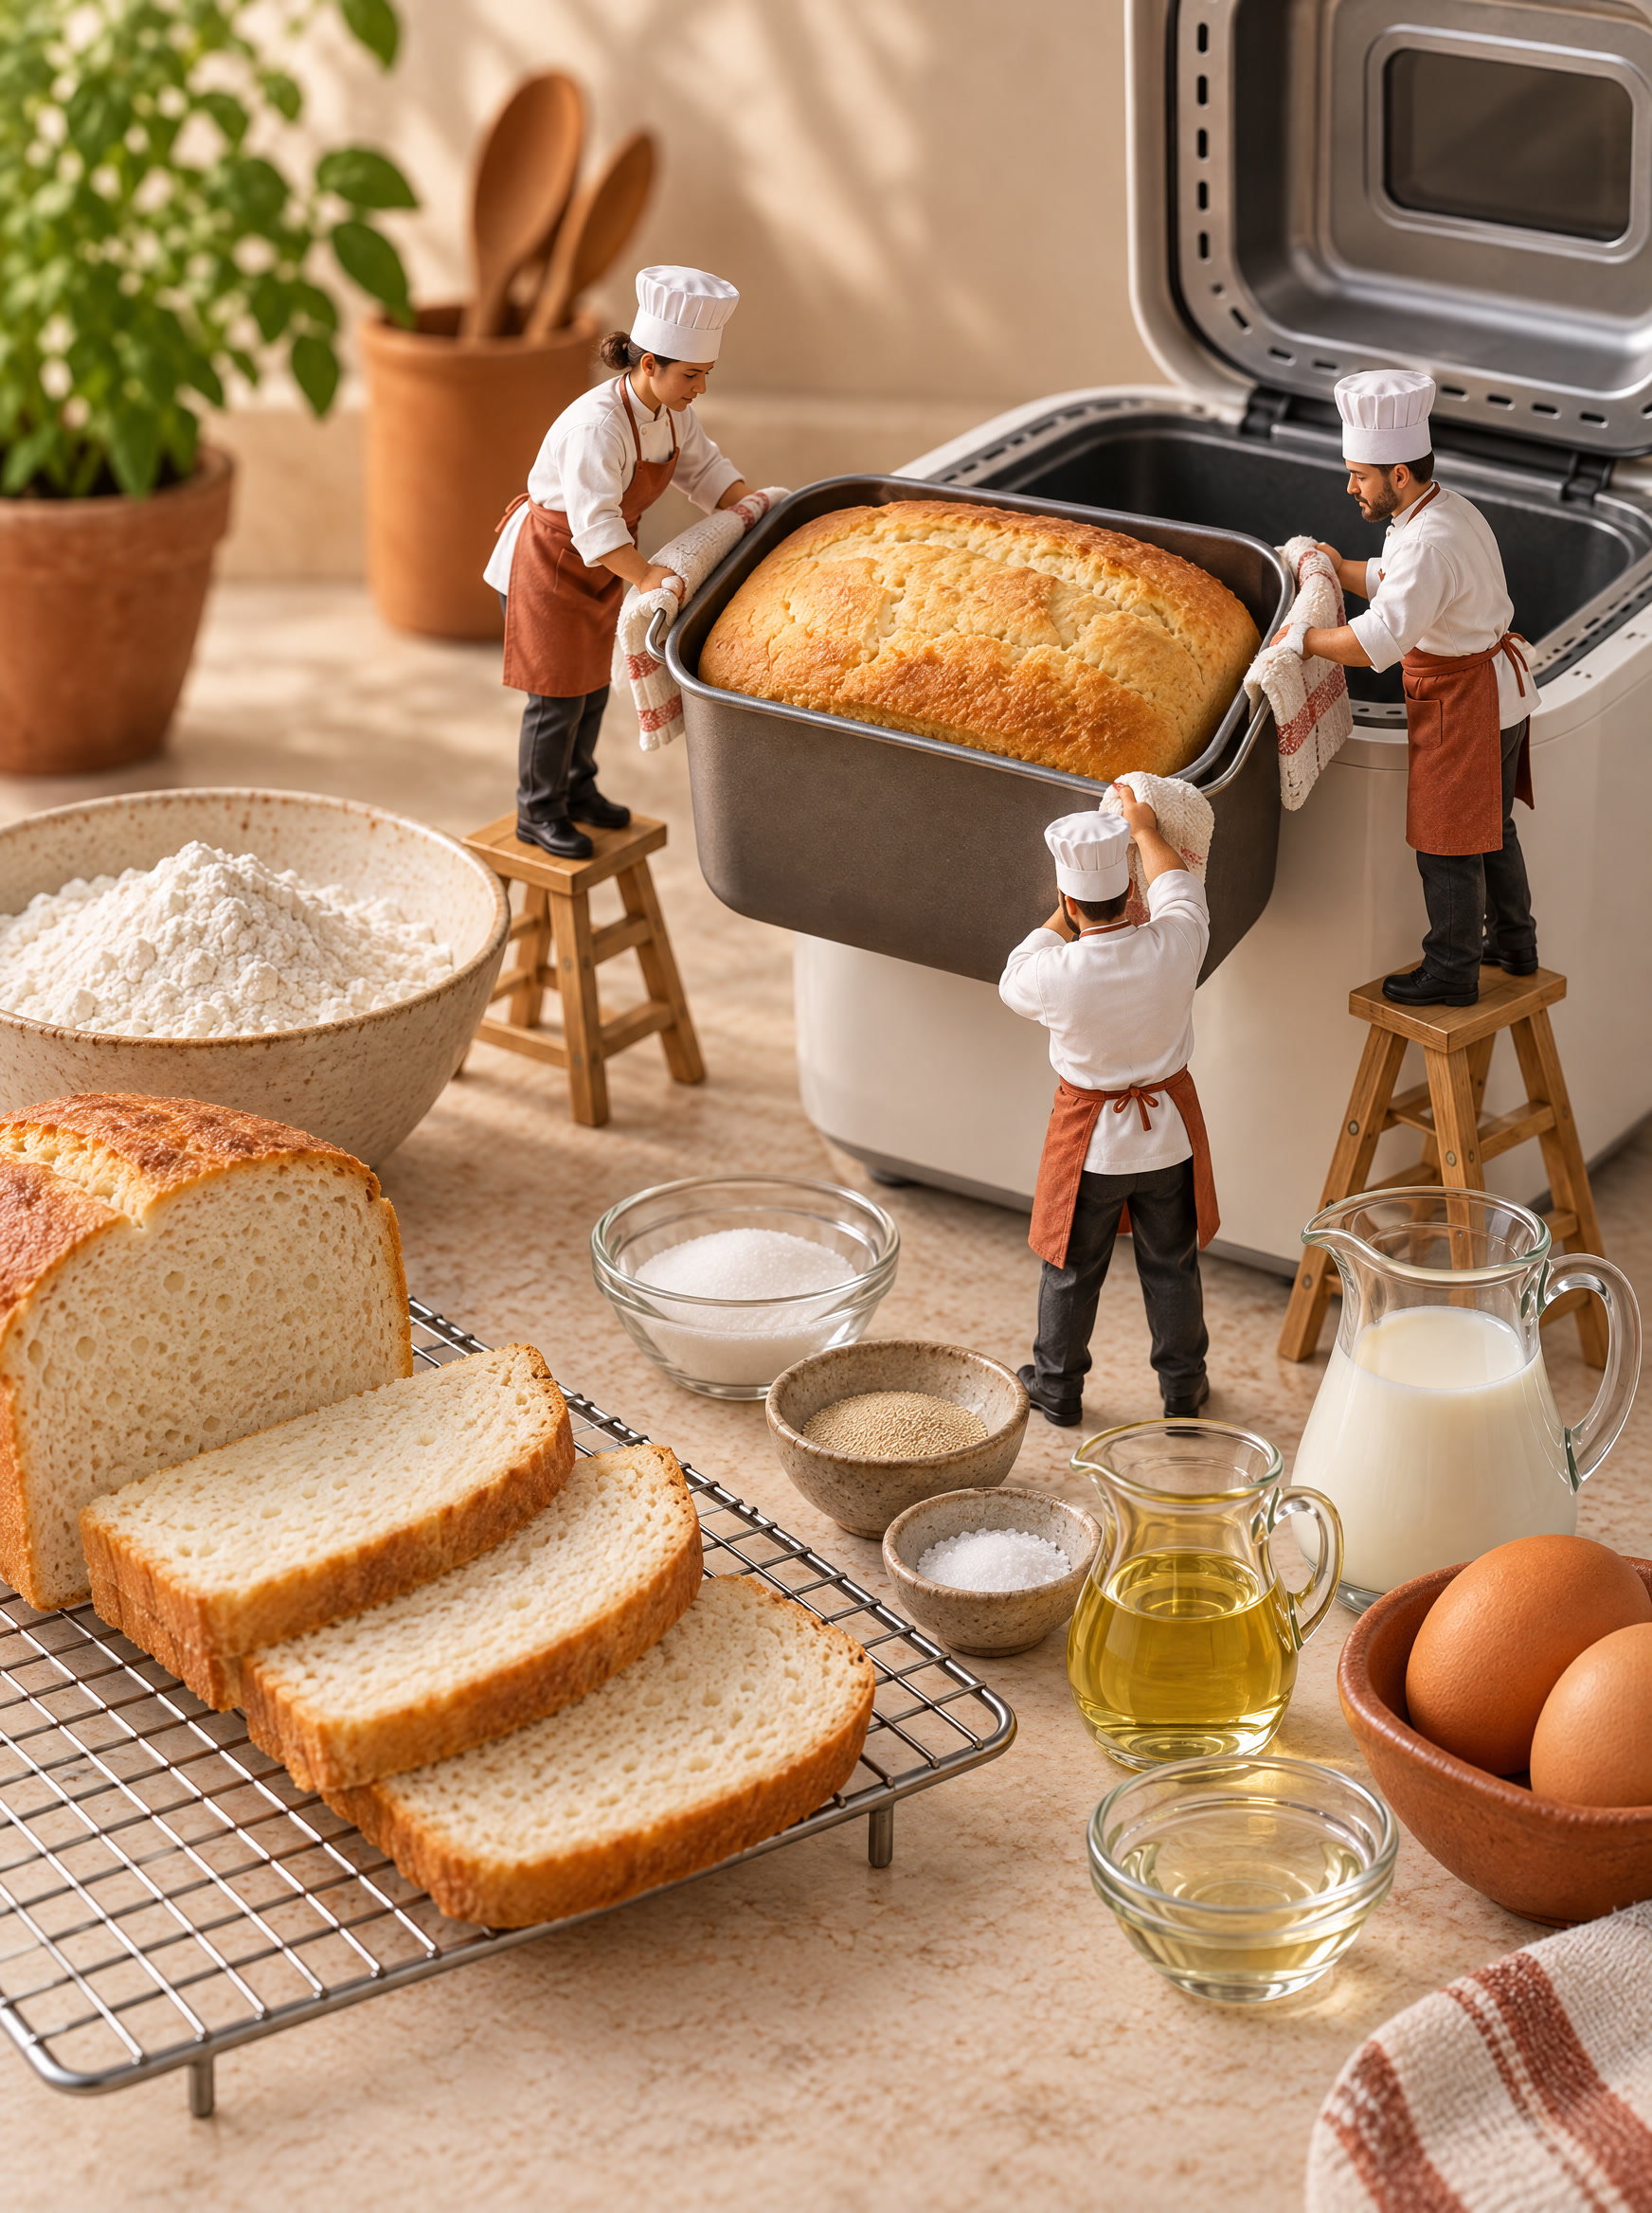
The ingredients, seen a little differently. This image is an illustration of the main ingredients; use the written recipe for the full list and quantities.
See the collection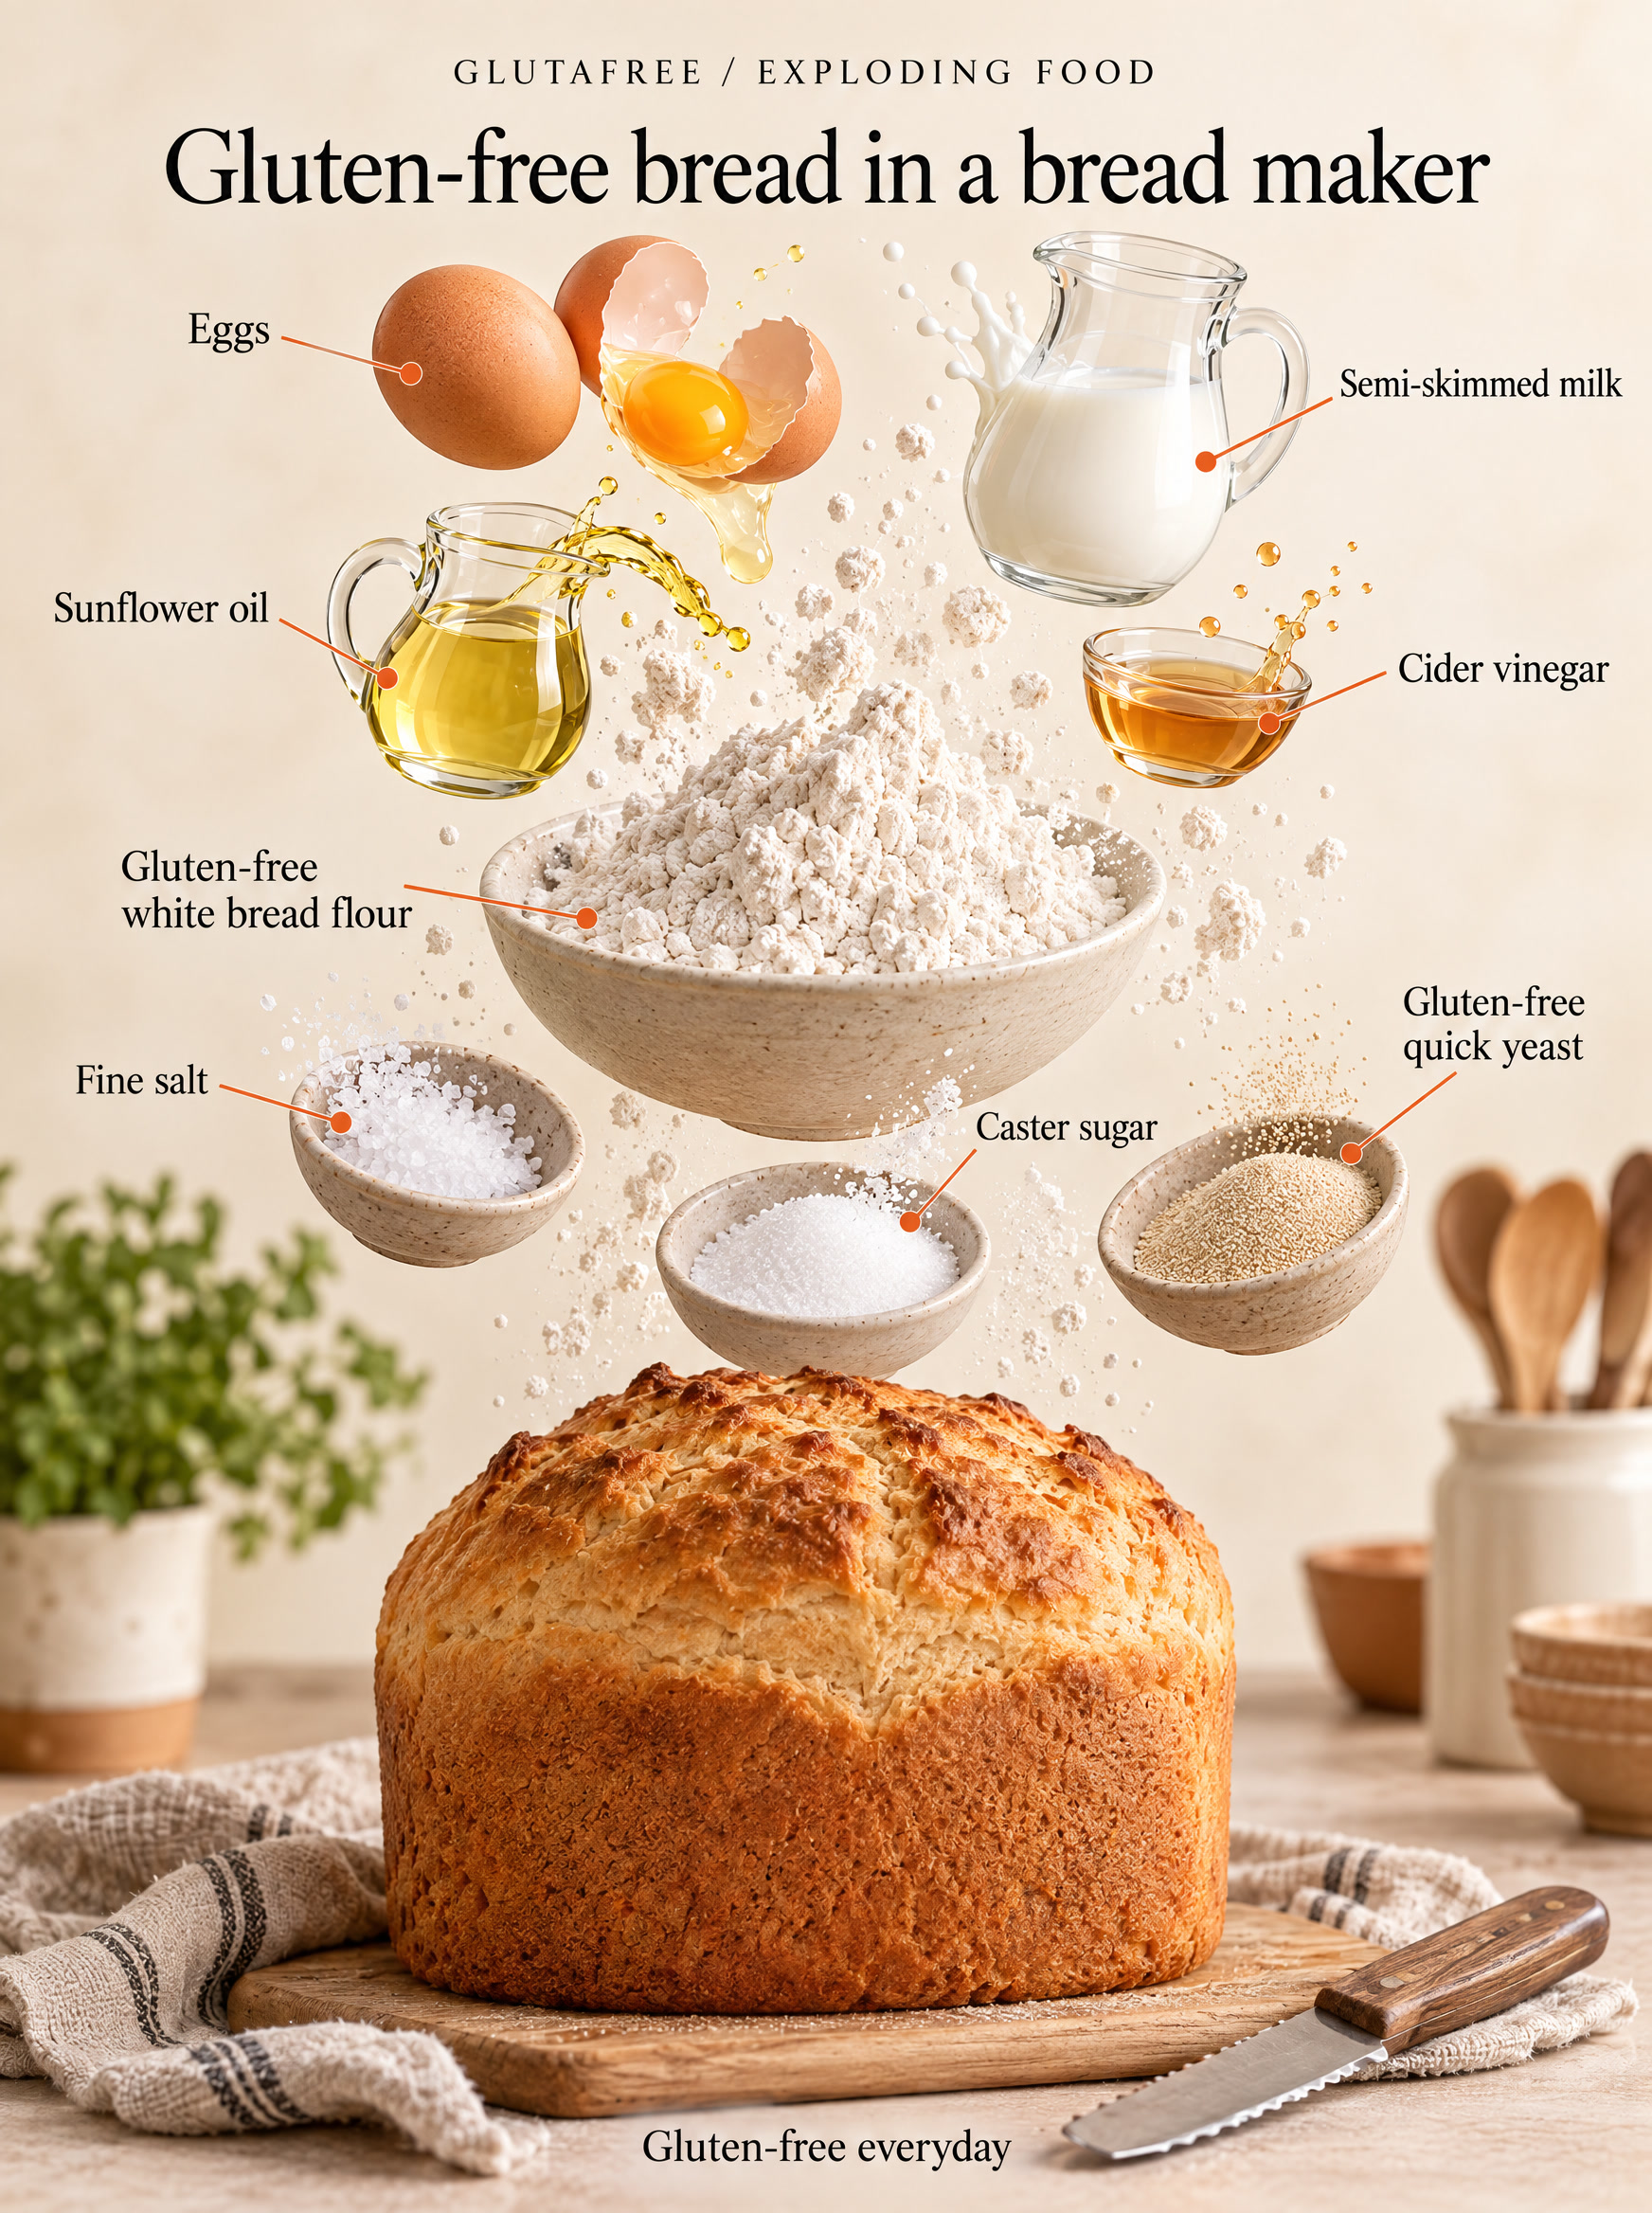
The miniature kitchen
Tiny chefs.
Big ideas.
A playful look at the same familiar favourite. Meet the little team behind our food illustrations.
Explore the tiny kitchen