Everyday dinners
Gluten-free bread rolls
Small, plain bread rolls baked in a muffin tin, ready to serve alongside dinner.
Free guide: thirty gluten-free dinners, with the shopping lists
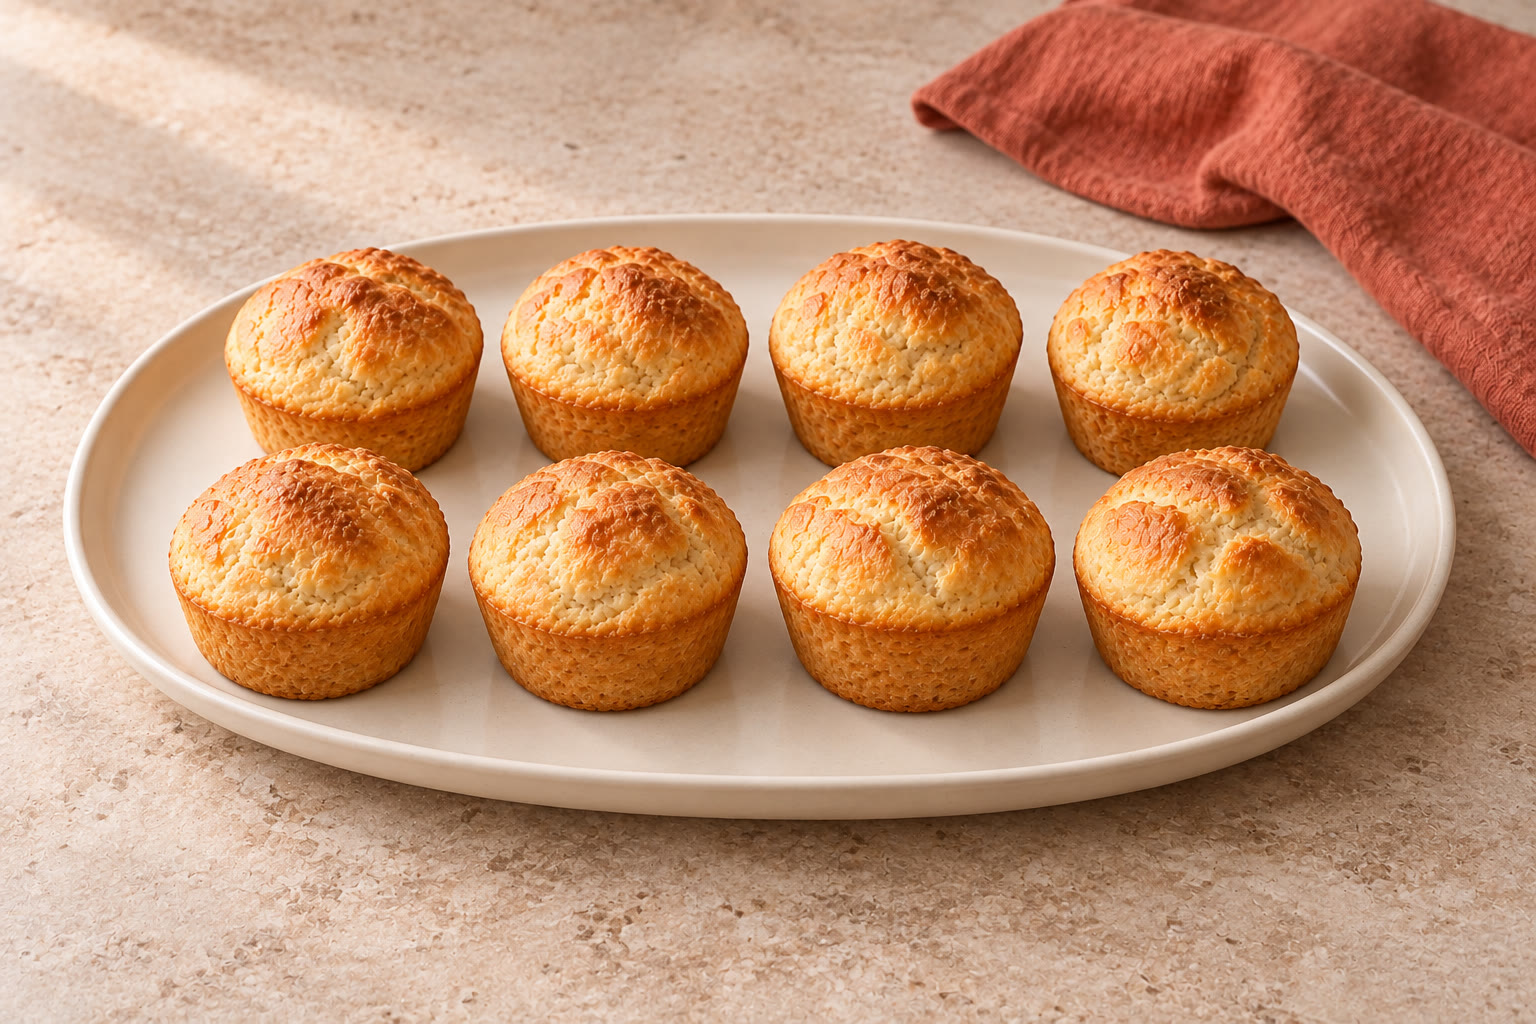
These small dinner rolls use a sticky dough that you spoon into a muffin tin. The tin supports each roll as it rises, so there is no kneading or shaping on a floured worktop.
Makes eight small rolls, serving eight as an accompaniment. This recipe is in development and has not been kitchen-tested.
The recipe
Gluten-free bread rolls
- Prep
- 15 min
- Cook
- 25 min
- Total*
- 40 min
- Makes
- 8 small rolls
*Estimated development timings. The 40 minutes covers preparation and baking only. Allow another 60–120 minutes for the first rise, 35–45 minutes for the second rise and at least 45 minutes for cooling.
Ingredients
Tick things off as you go.
For the rolls
Equipment
- Use digital scales, a measuring jug and measuring spoons.
- Use a large mixing bowl, a wooden spoon and a flexible spatula.
- Use a standard metal muffin tin with at least eight holes, each holding approximately 100 ml.
- Have a pastry brush, a clean tea towel and a wire cooling rack ready.
Let’s make it.
- 01
Prepare the tin
Wash your hands and clean the worktop and utensils. Spread 5 ml oil inside eight muffin holes, leaving a thin film over their bases and sides.
- 02
Mix the dough
Combine both flours, xanthan gum, yeast, sugar and salt. Beat in the lukewarm water, vinegar and 15 ml oil until no dry patches remain. Do not taste raw dough; wash hands and utensils after handling it.
- 03
Let it rise
Cover the bowl and leave somewhere comfortably warm for 60–120 minutes, until the mixture has doubled and looks aerated.
- 04
Fill the tin
Fold in the remaining 15 ml oil. Spoon equally into the prepared holes and smooth with the brushing water. Cover loosely with the tea towel; leave for 35–45 minutes until approximately doubled.
- 05
Bake the rolls
Towards the end of the rise, heat the oven to 200°C / 180°C fan. Remove the towel. Bake for 20–25 minutes until golden, with firm sides and bases that sound hollow when tapped. If still soft underneath, return to the oven for another 5 minutes.
- 06
Cool before slicing
Move the rolls onto the rack. Leave for at least 45 minutes, until cool through. The cut crumb should be set, without a wet, pasty centre.
Ingredient checks
Choose flour and chickpea flour labelled gluten-free, and check the yeast, xanthan gum and vinegar for gluten-free suitability and other allergens. The specified plain flour requires the separately listed xanthan gum; do not use a blend containing added gum without reassessing the quantity. For someone with coeliac disease, use clean equipment and protect the dough and finished rolls from wheat flour, crumbs and shared utensils.
Allergens: None of the 14 UK regulated allergens is intentionally included in the specified ingredients; check every packet for allergens and cross-contact warnings.; Cider vinegar can contain sulphites; check its label, particularly if cooking for someone with a sulphite allergy.; Chickpeas are not one of the 14 regulated allergens, but can still cause an allergic reaction..
Make it work for you
Sunflower oil can replace the rapeseed oil in the same quantity.
Gluten-free white wine vinegar can replace the cider vinegar in the same quantity; check for sulphites.
Use the specified plain flour blend for this development version: bread flour, self-raising flour and single flours absorb water differently and are not direct substitutes.
Do not replace xanthan gum with the same quantity of psyllium husk; that change needs a separately developed formula.
For another day
Cool completely before packing so that steam does not collect inside the container; these plain rolls are best eaten on the day they are baked.
Freeze any rolls you will not eat that day as soon as they are cool, wrapped individually in a labelled airtight freezer bag.
Defrost covered in the fridge and eat within 24 hours of fully thawing.
Freezing and thawing quality have not yet been tested for this recipe.
Exploding food
What goes in.
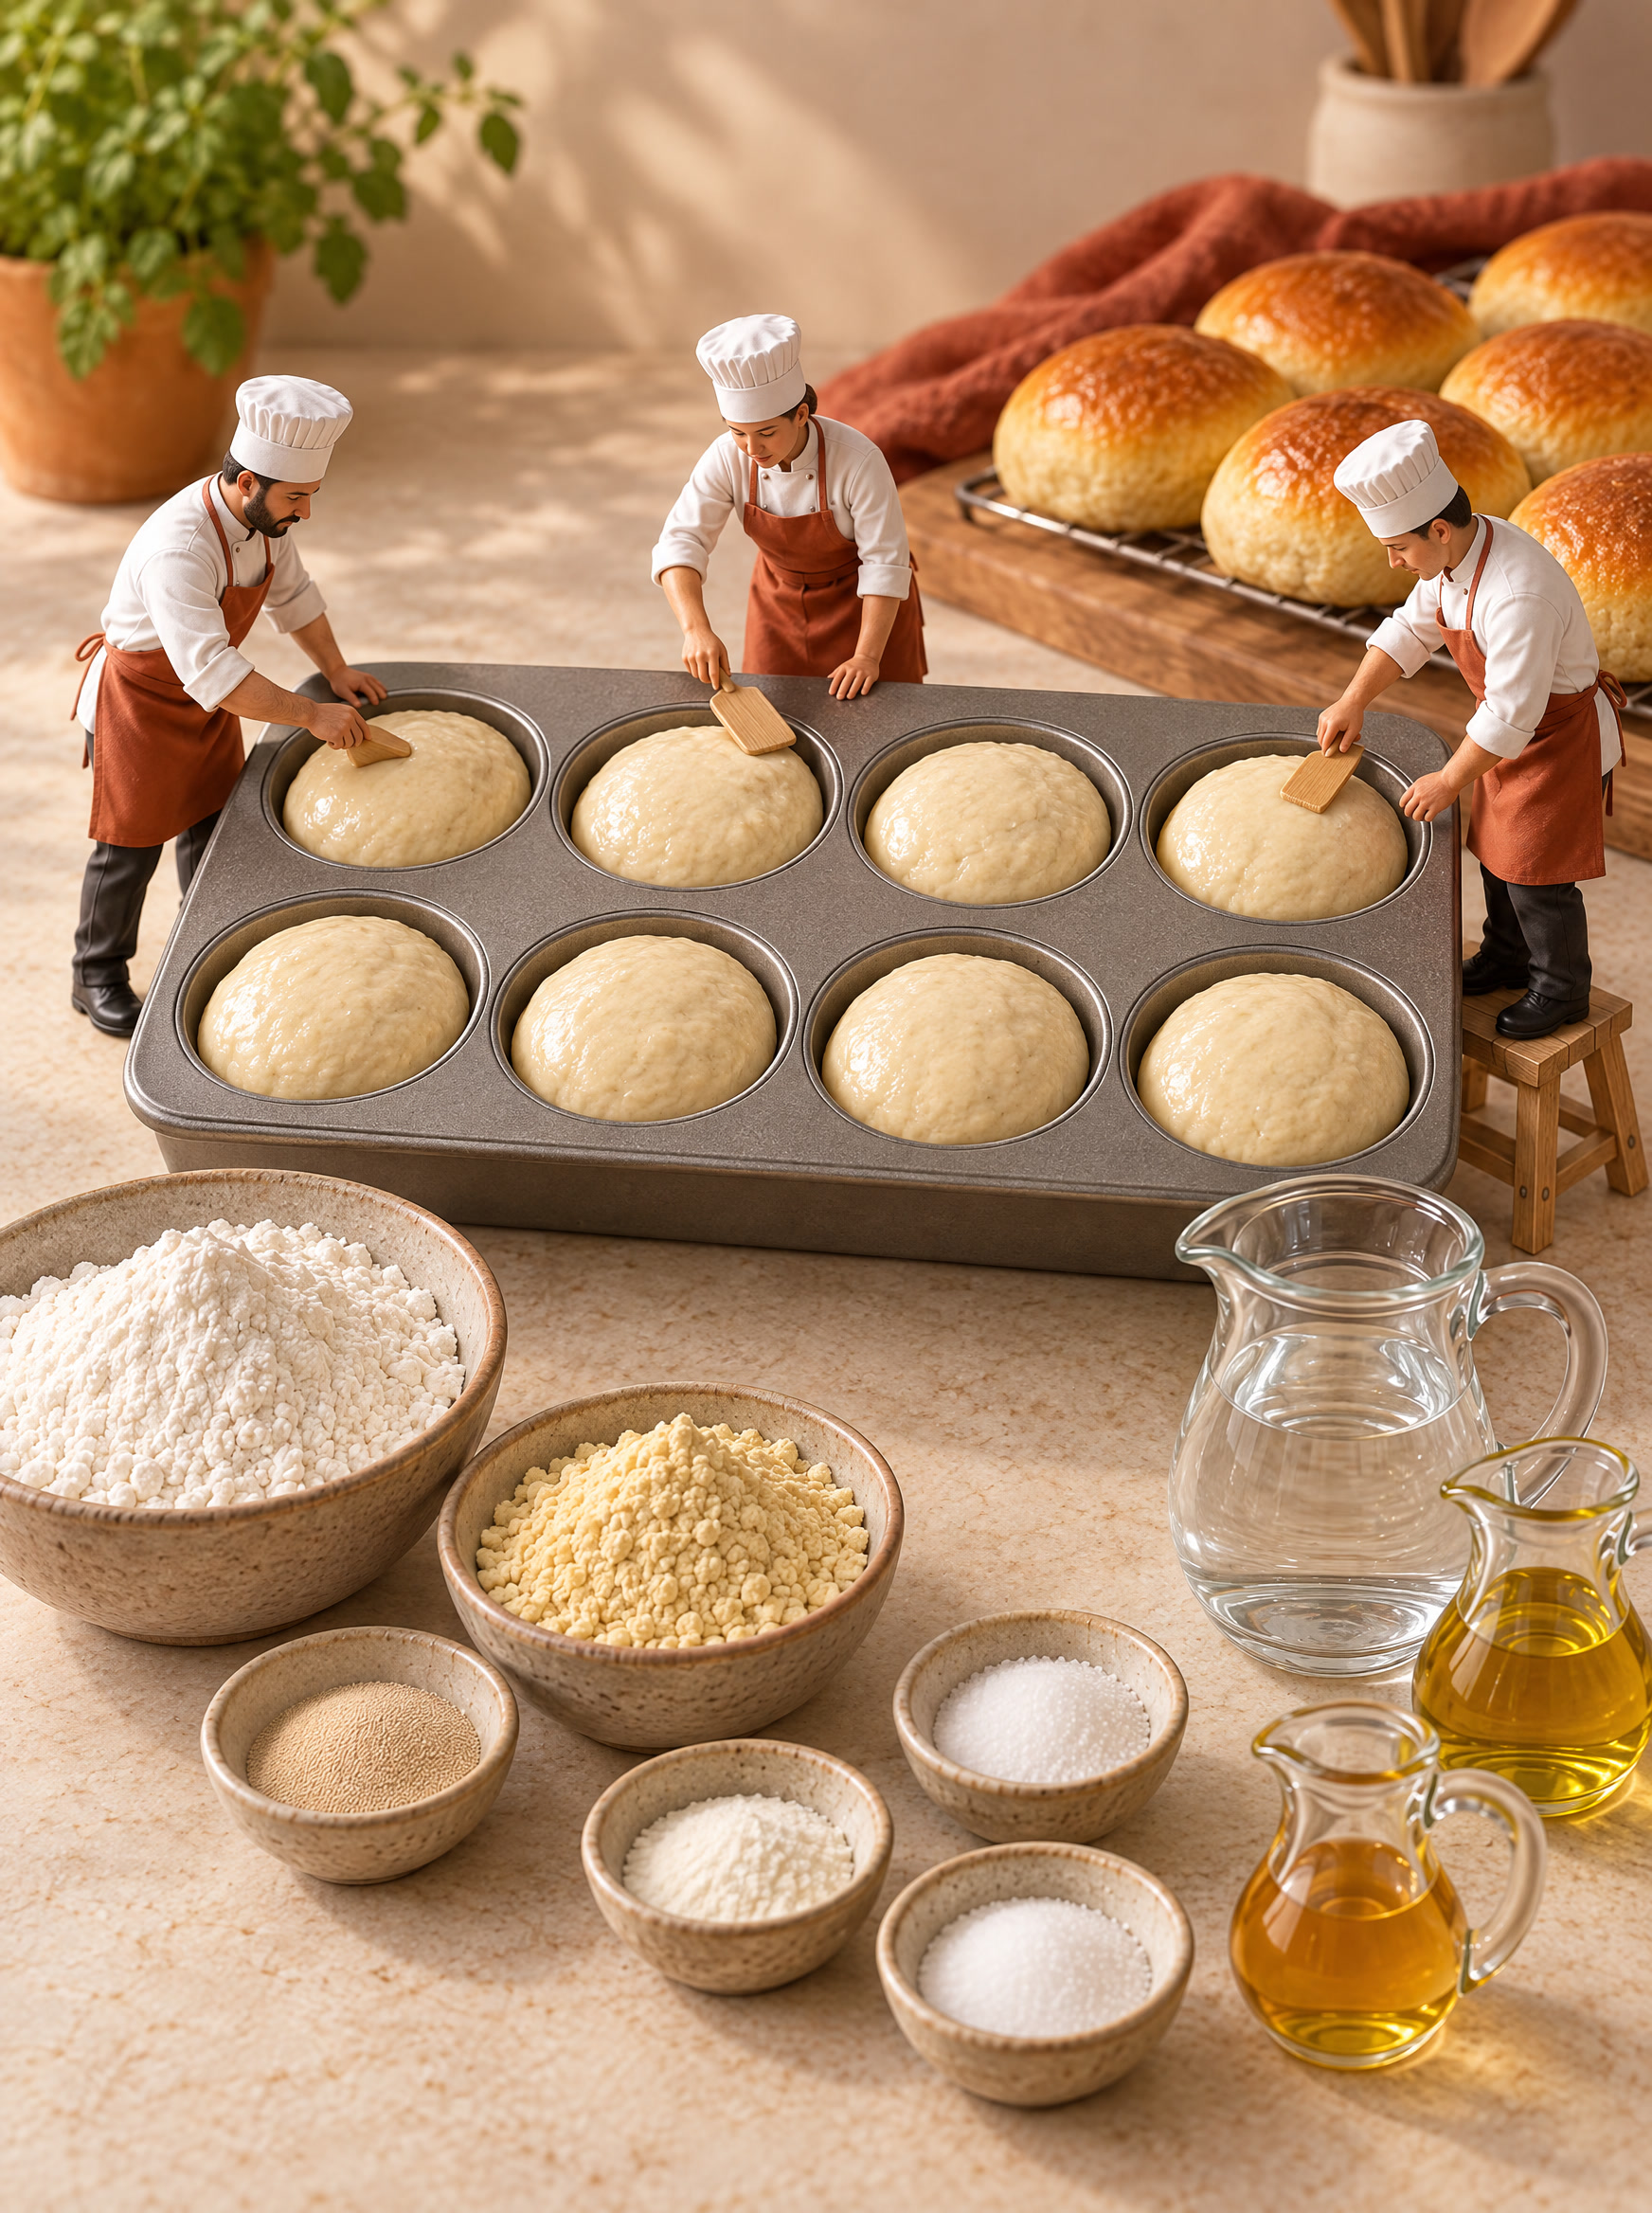
The ingredients, seen a little differently. This image is an illustration of the main ingredients; use the written recipe for the full list and quantities.
See the collection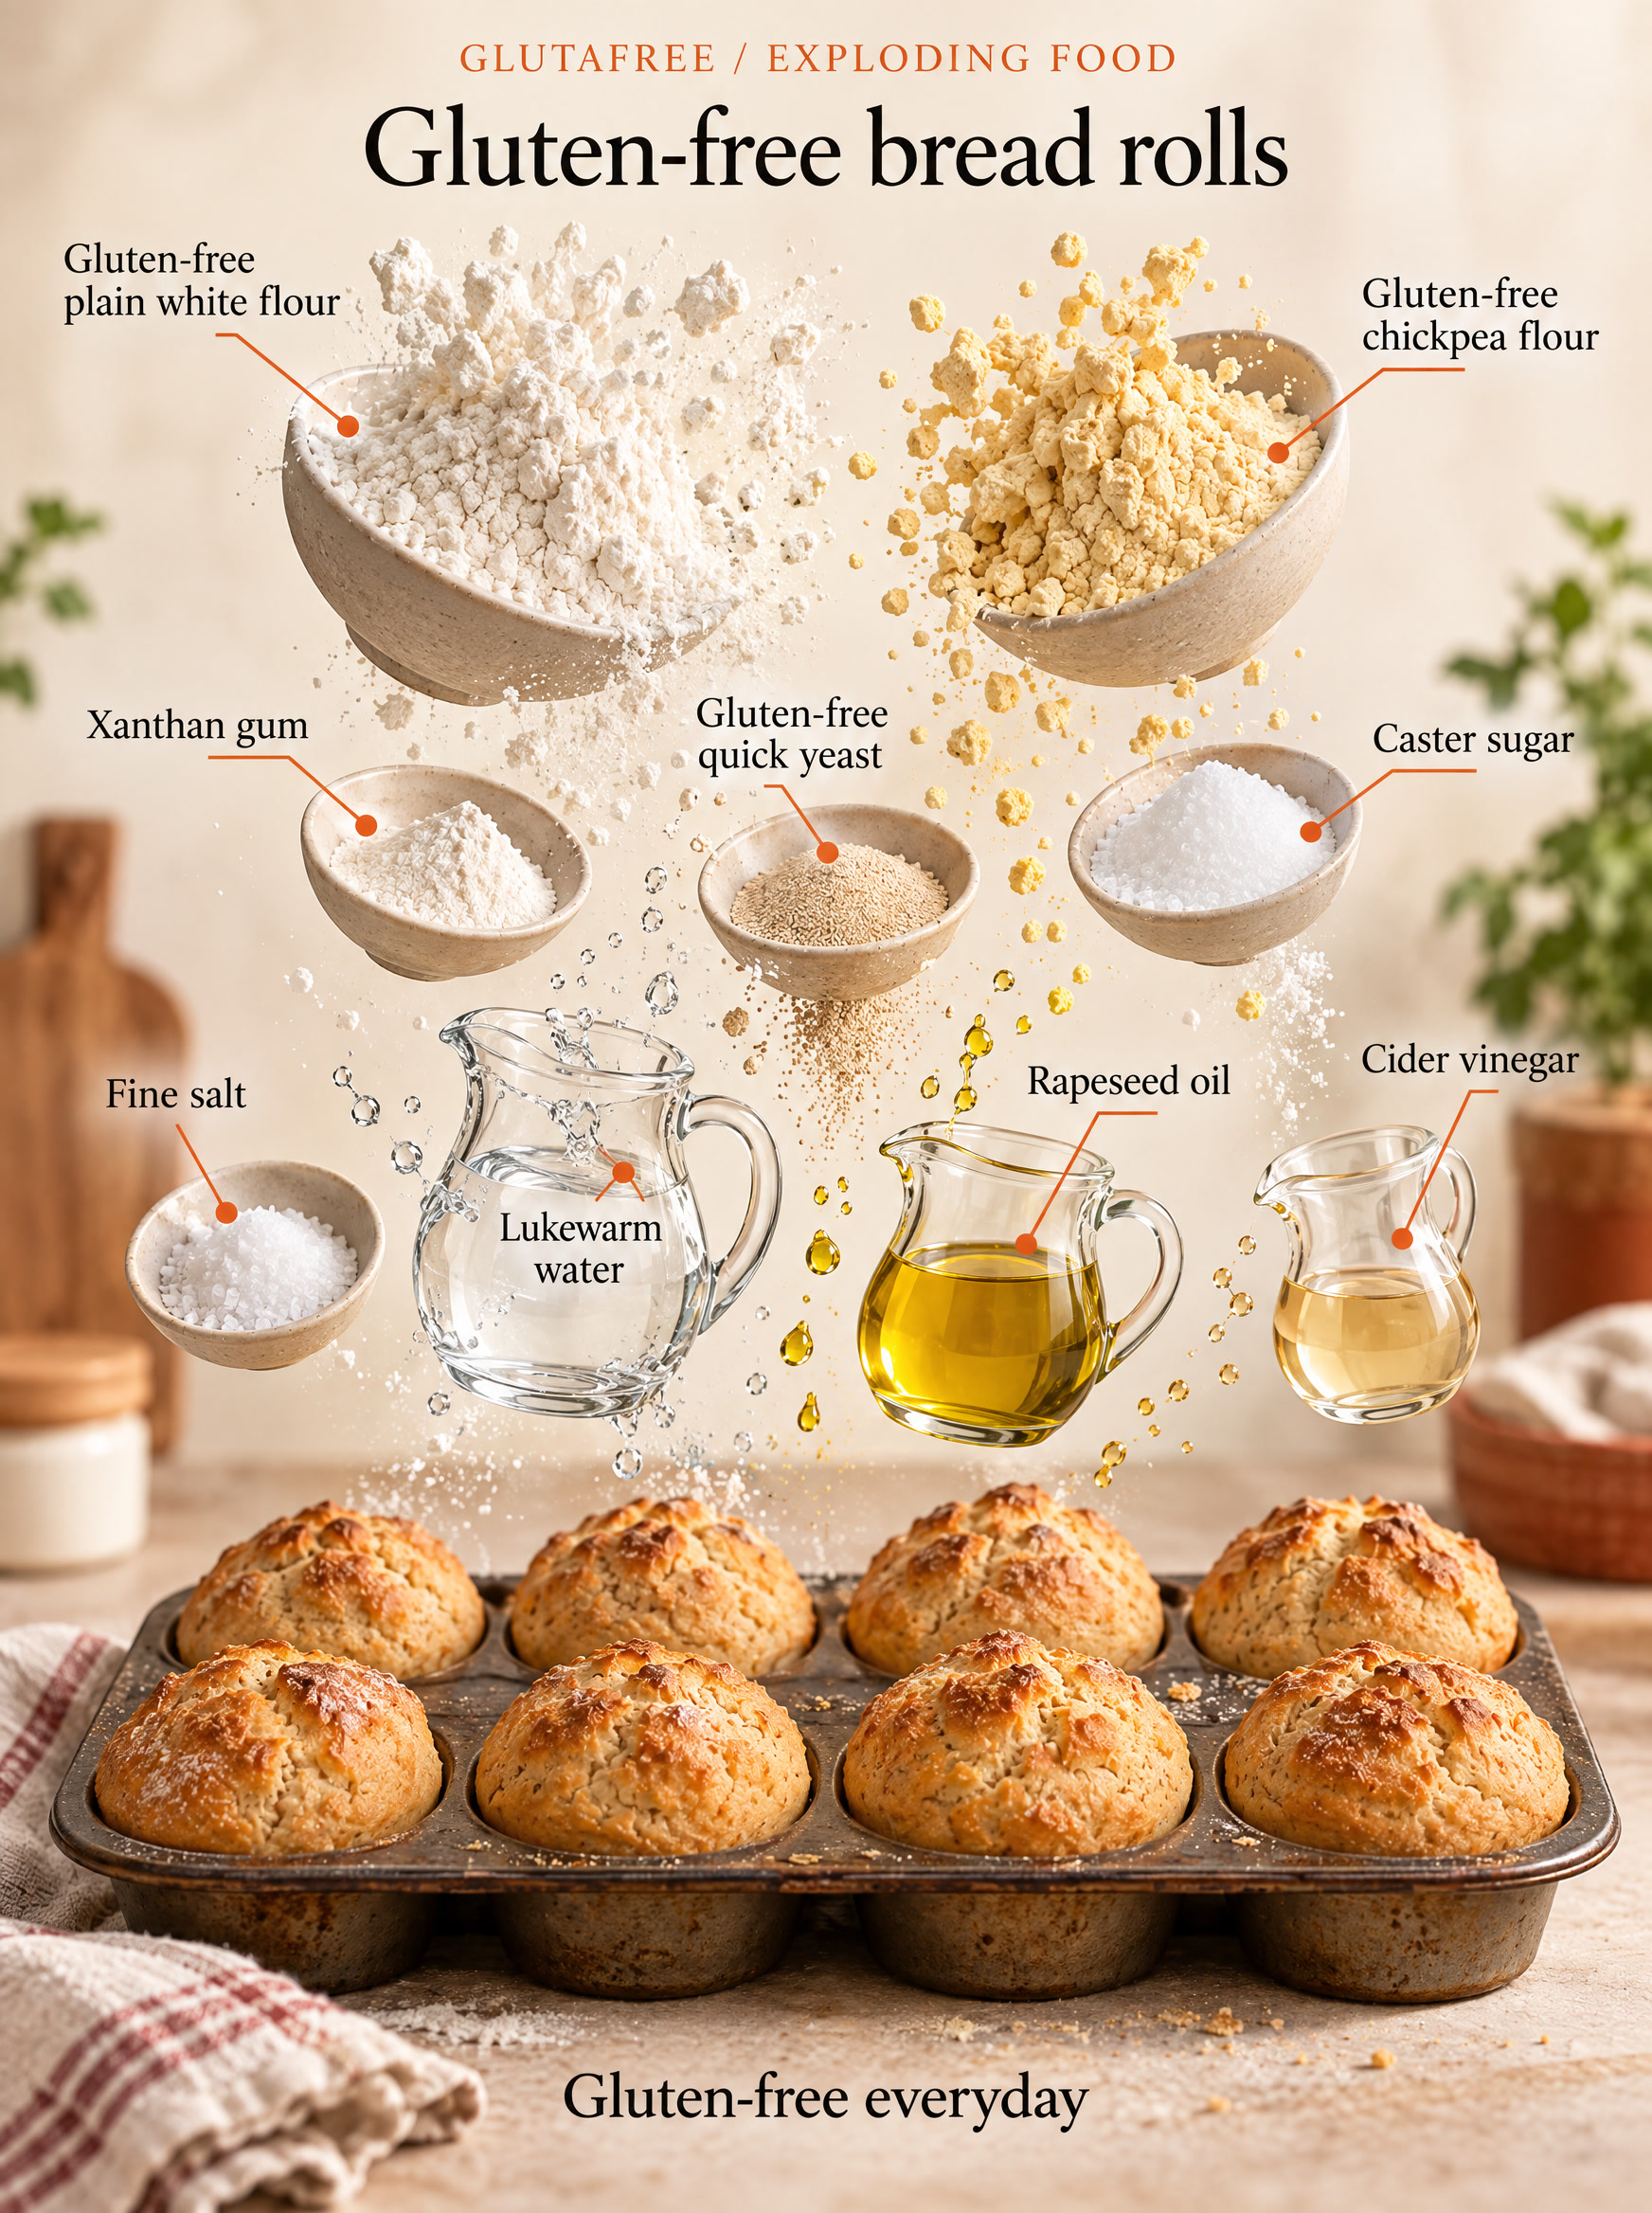
The miniature kitchen
Tiny chefs.
Big ideas.
A playful look at the same familiar favourite. Meet the little team behind our food illustrations.
Explore the tiny kitchen