Everyday dinners
Gluten-free almond cake
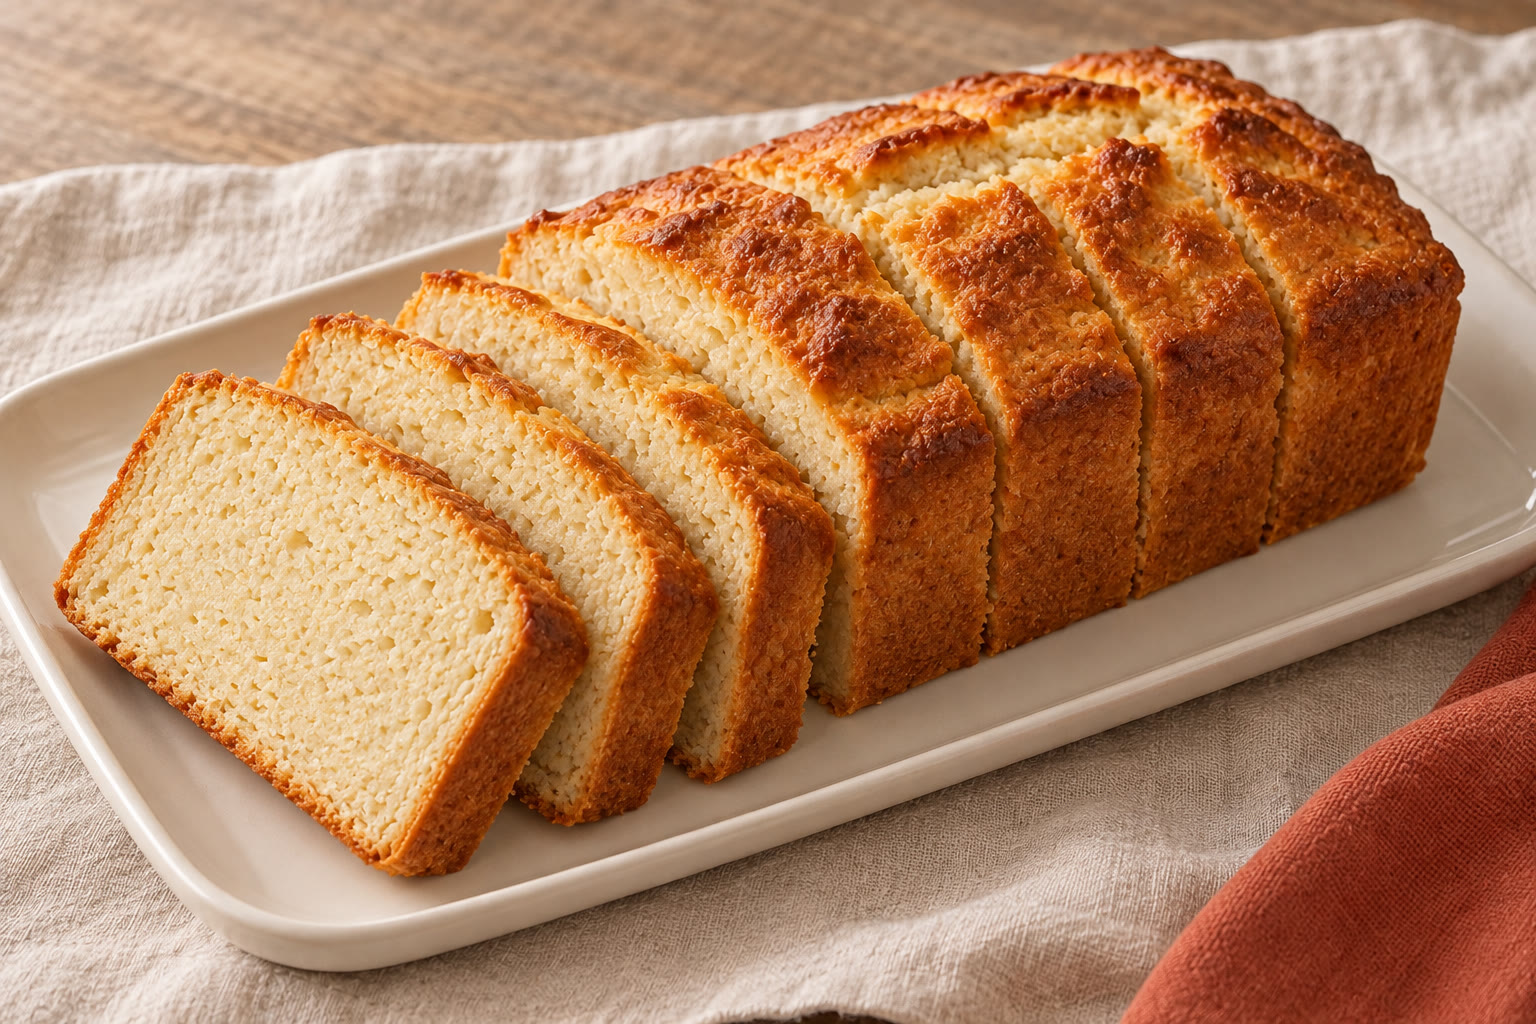
A buttery almond cake with a tender crumb and a crisp scattering of flaked almonds.
Free guide: thirty gluten-free dinners, with the shopping lists
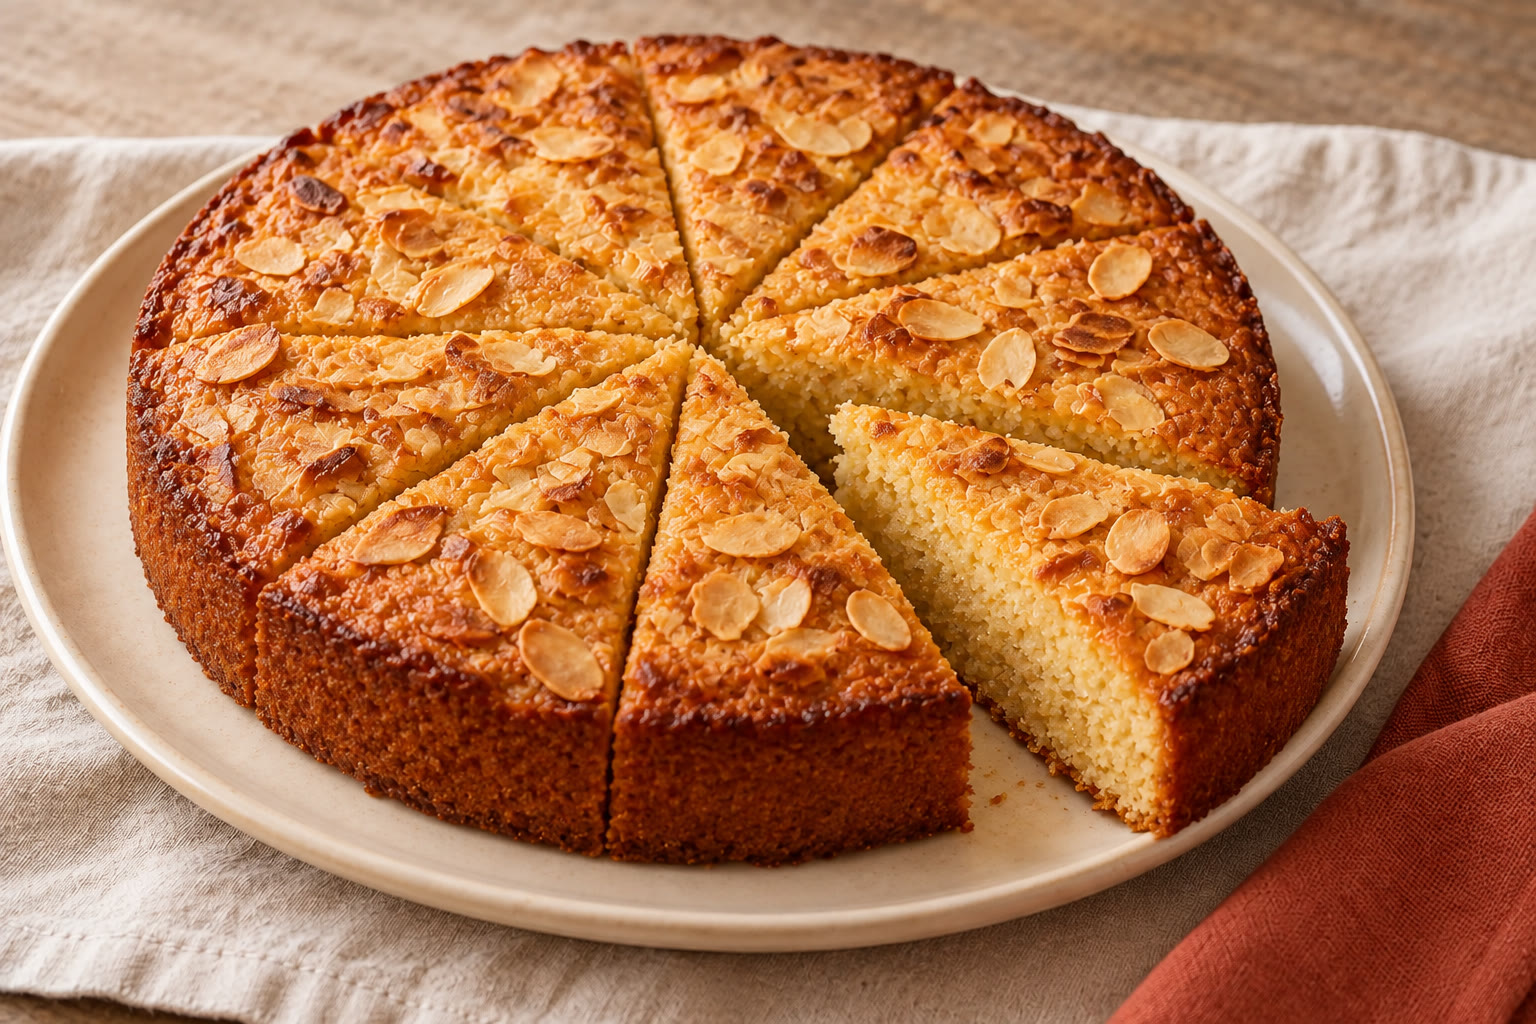
Ground almonds give this simple cake its tender crumb. A little gluten-free self-raising flour helps it hold together, while flaked almonds add crunch.
Let the cake cool before slicing: it is delicate while warm. This recipe is in development and has not been kitchen-tested.
The recipe
Gluten-free almond cake
- Prep
- 20 min
- Cook
- 45 min
- Total*
- 65 min
- Makes
- 10 slices
*Estimated development timings. Allow about 90 minutes for cooling, including 20 minutes standing in the tin; this is additional to the total time.
Ingredients
Tick things off as you go.
For the cake
For the topping
Equipment
- Use a 20 cm round springform cake tin at least 5 cm deep.
- Have baking parchment and a little kitchen foil ready.
- Use kitchen scales and a measuring teaspoon.
- Use a mixing bowl, an electric hand whisk and a flexible spatula.
- Have a skewer, a wire cooling rack and a serving plate ready.
Let’s make it.
- 01
Prepare the tin
Heat the oven to 180°C / 160°C fan / gas 4. Grease the tin with the 5 g butter and line its base and sides with parchment. Smooth out folds so the lining sits neatly against the tin.
- 02
Beat the butter
Whisk the softened butter and sugar for about 5 minutes, scraping the bowl, until noticeably lighter and fluffy.
- 03
Add the eggs
Beat in each egg separately, then the almond extract, until no streaks of egg remain. A slightly curdled appearance is fine. Wash your hands after handling eggs and avoid tasting uncooked batter.
- 04
Fill the tin
Fold in the ground almonds and flour until no dry patches remain. Transfer to the tin, level the batter and scatter over the flaked almonds.
- 05
Bake
Bake for 40–45 minutes until golden, the centre feels set and a skewer inserted into the centre comes out without wet batter. If wet batter remains, bake longer, checking every 5 minutes. Cover loosely with foil if the topping is getting too dark.
- 06
Cool and slice
Stand the tin on a rack for 20 minutes before releasing the sides. Leave the cake supported on its base until completely cool, allowing about 70 minutes more. Remove the base and parchment, transfer to a plate and cut into ten slices. The centre should no longer feel warm before storing.
Ingredient checks
Use a flour blend explicitly labelled gluten-free and self-raising, not ordinary wheat flour or plain gluten-free flour. Check ground almonds, flaked almonds and almond extract for gluten-free suitability and allergen warnings. For someone with coeliac disease, use clean equipment, a clean worktop and butter free from bread crumbs, and avoid airborne wheat flour during preparation.
Allergens: Contains eggs, milk from butter, and tree nuts from almonds.; Check flour and extract labels for additional allergens; celery, cereals containing gluten, crustaceans, fish, lupin, molluscs, mustard, peanuts, sesame, soya and sulphites are not intentionally included in the specified ingredients..
Make it work for you
Replace the almond extract with the same quantity of gluten-free vanilla extract for a gentler flavour.
You can omit the flaked almond topping without changing the batter.
For a milk-free version, use a gluten-free dairy-free baking block suitable for cakes in place of both butter quantities; check for soya and other allergens, and expect some difference in texture.
Do not replace the ground almonds with gluten-free flour in equal quantities; a nut-free cake needs a separately developed recipe.
For another day
Once cool, place the cake in an airtight container and refrigerate at 0–5°C within two hours of baking; eat within 48 hours.
If cooling is slow, divide the cake into portions after it has firmed up to help it cool within that time.
Freeze cooled slices promptly in a sealed freezer container, with parchment between them; use within one month for best quality.
Defrost covered in the fridge and eat within 24 hours of fully thawing; reheating is unnecessary.
Exploding food
What goes in.
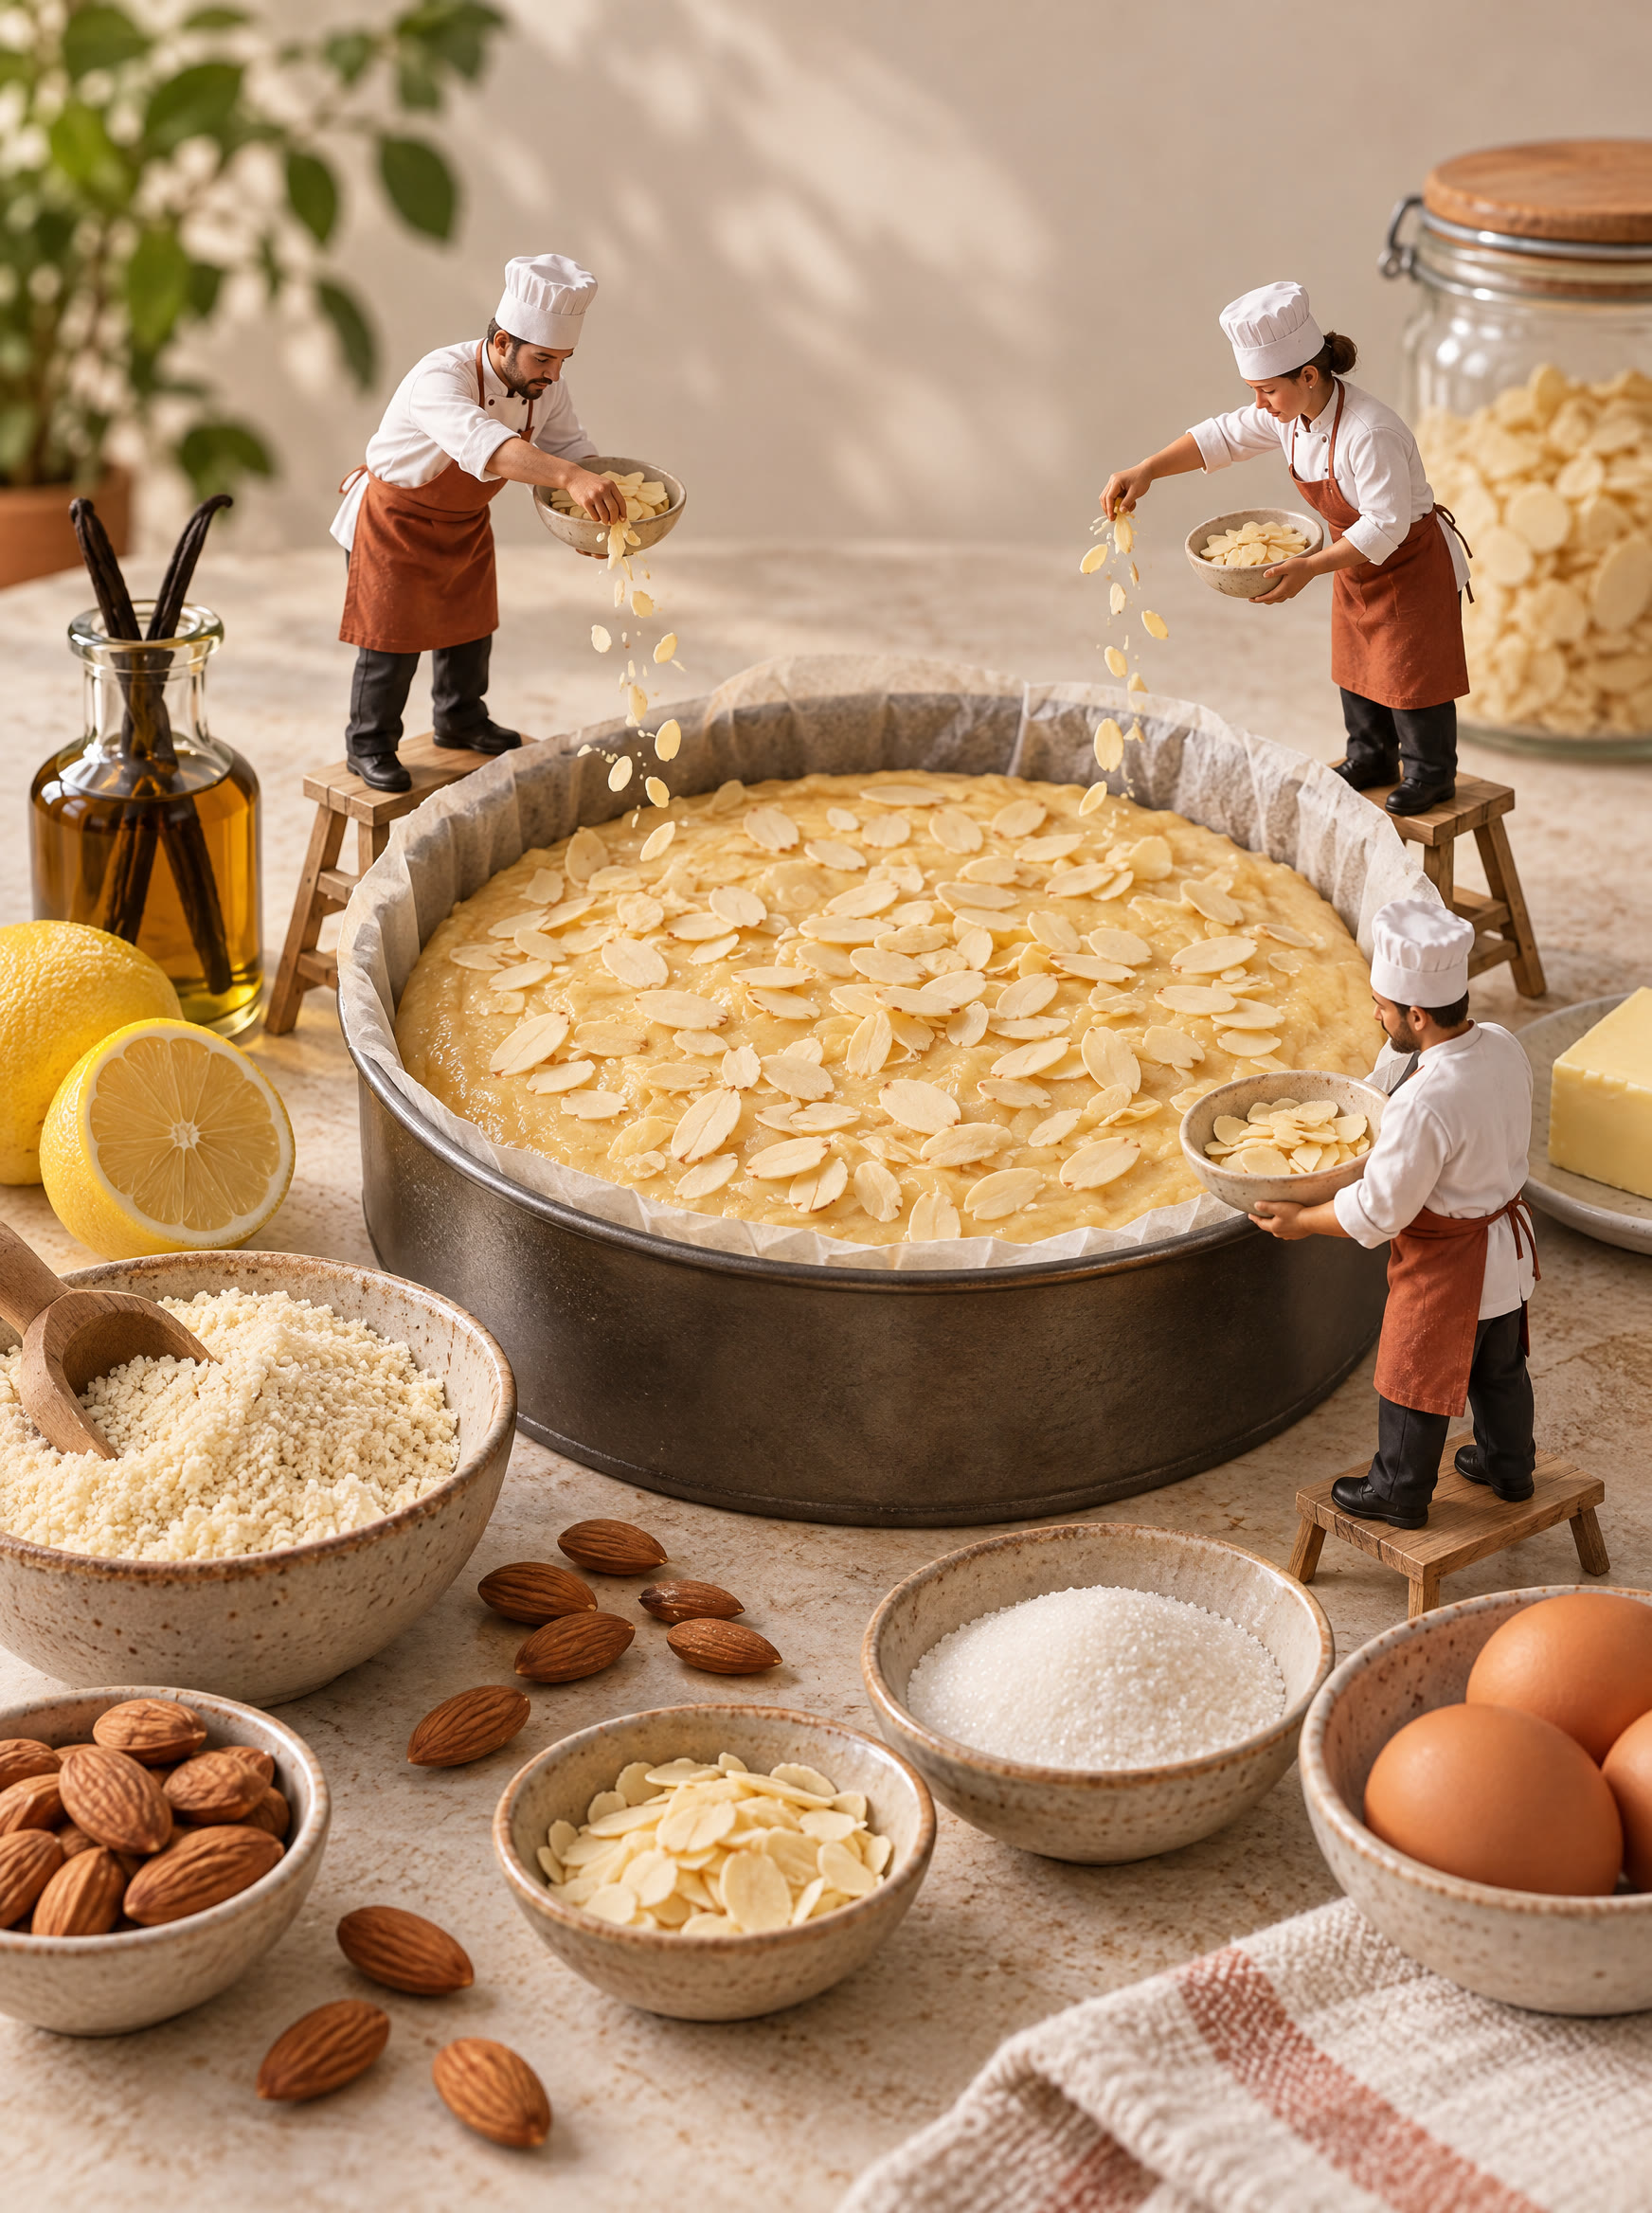
The ingredients, seen a little differently. This image is an illustration of the main ingredients; use the written recipe for the full list and quantities.
See the collection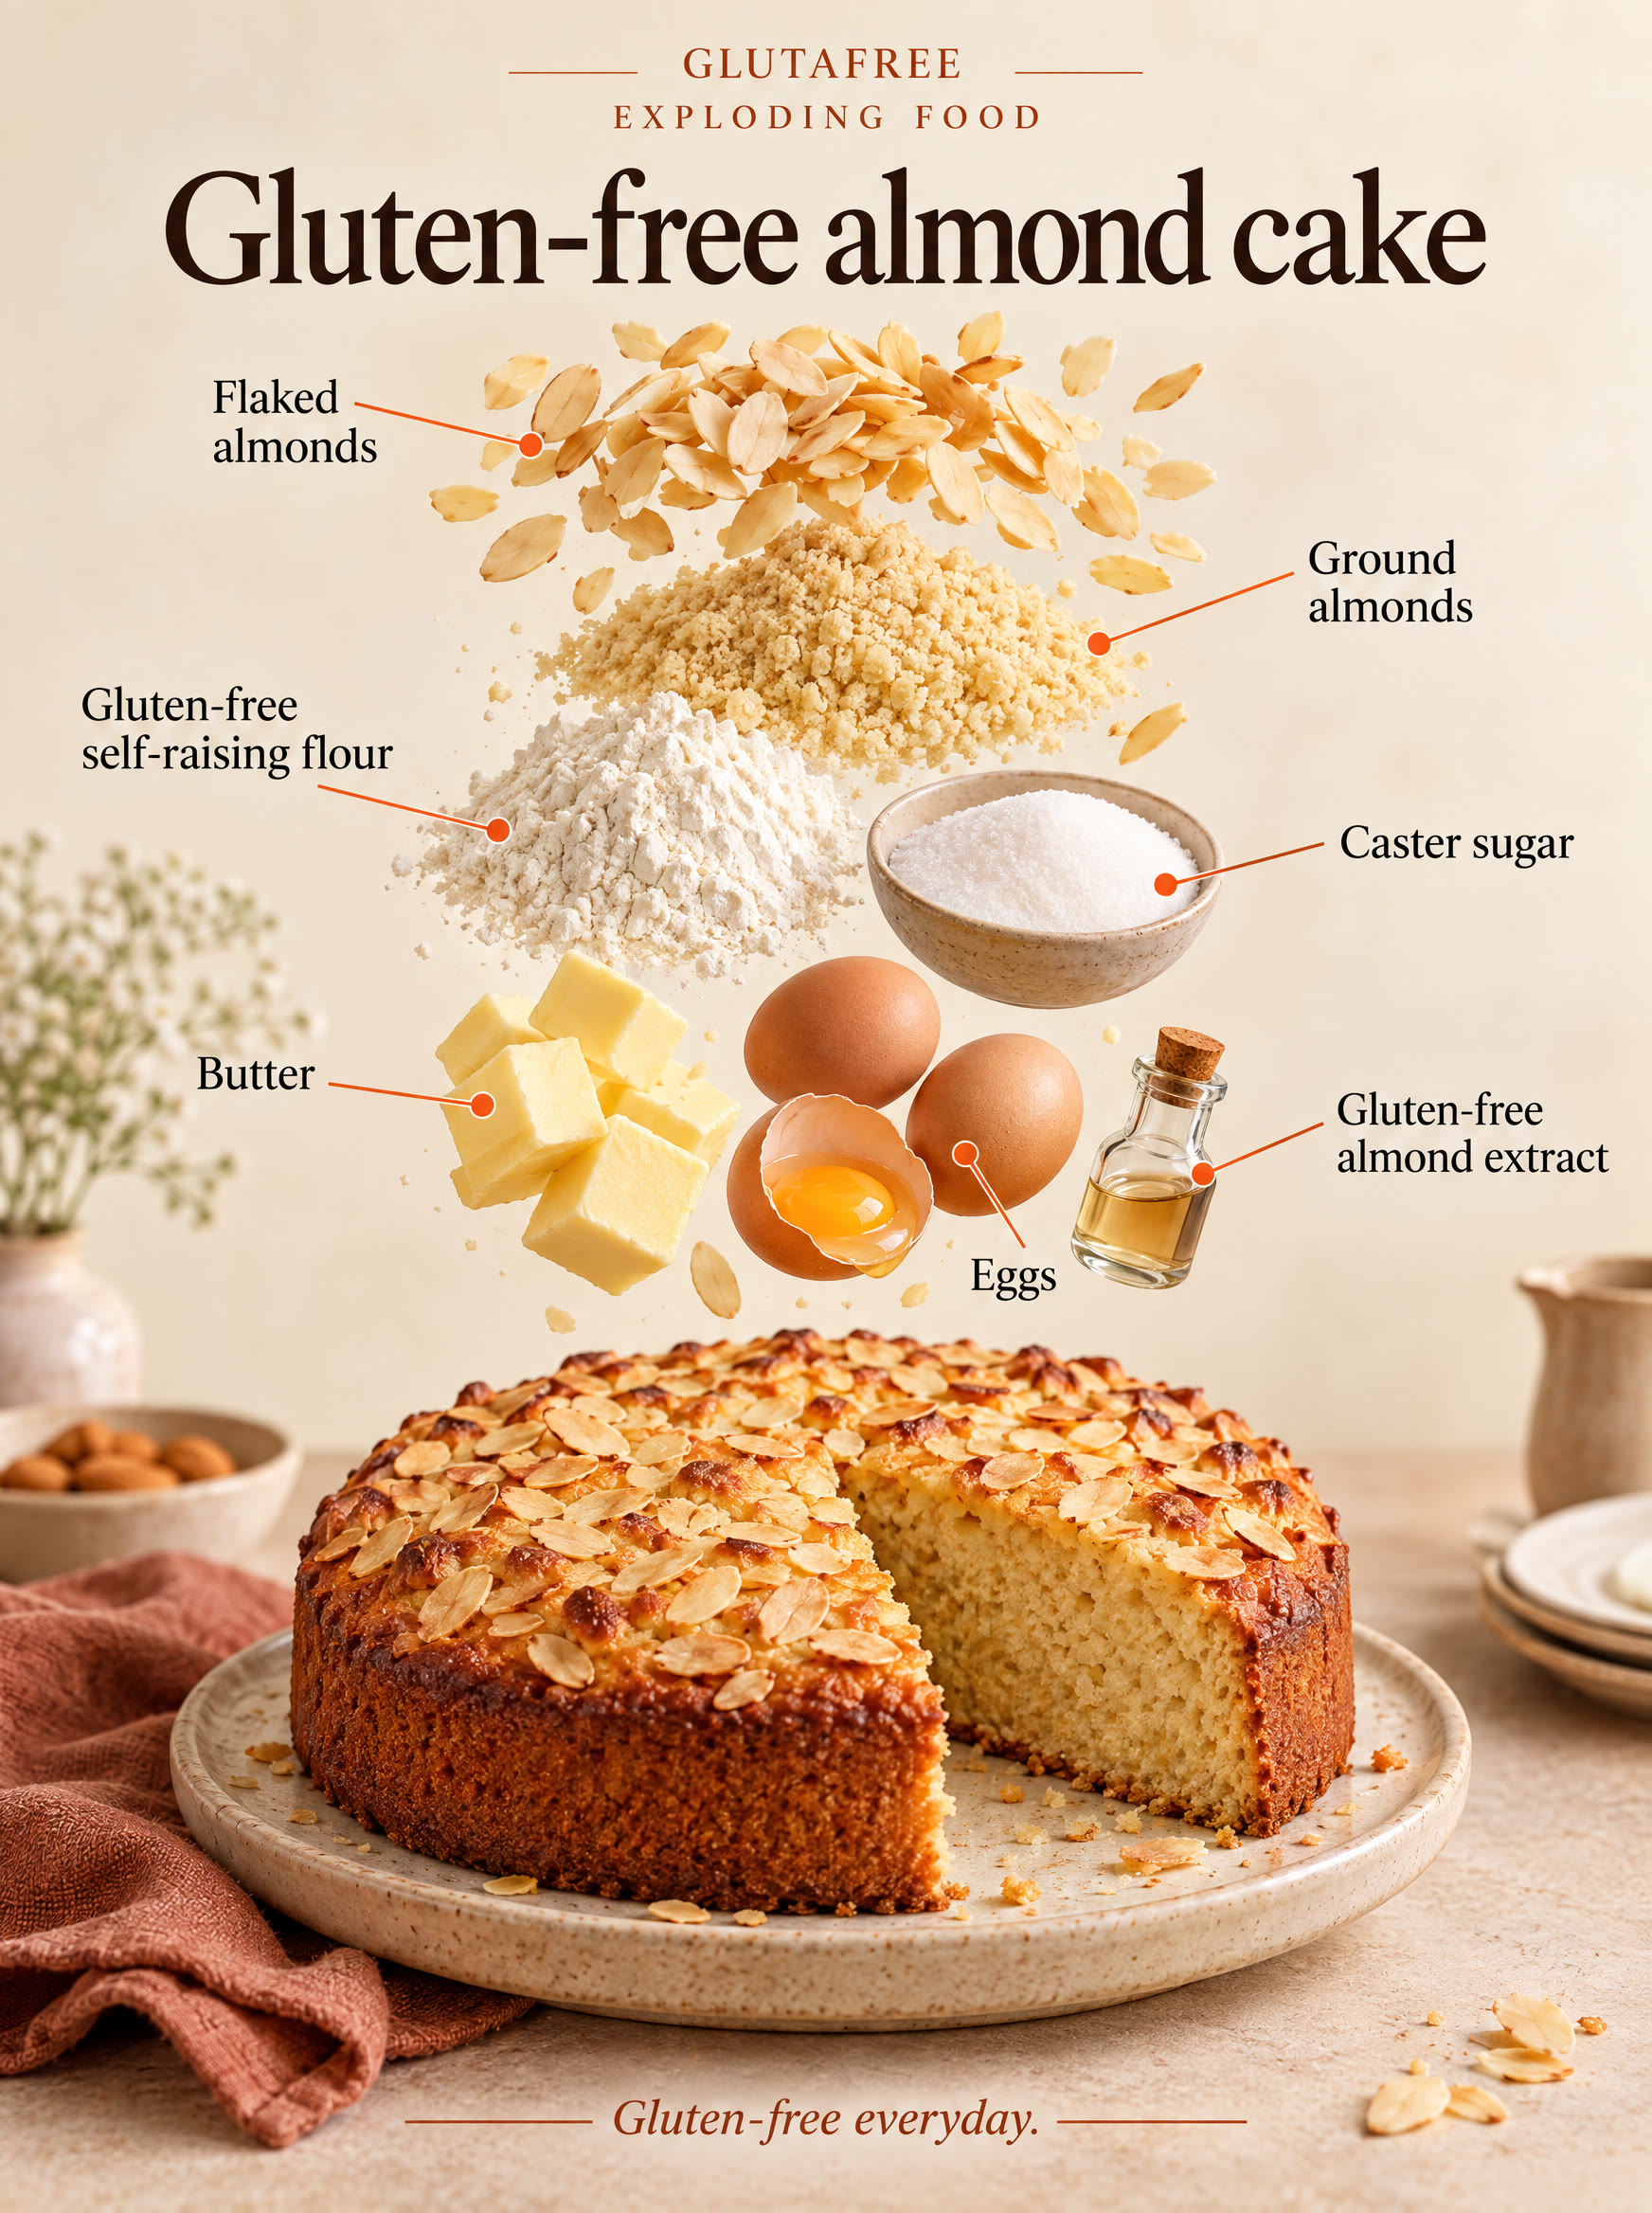
The miniature kitchen
Tiny chefs.
Big ideas.
A playful look at the same familiar favourite. Meet the little team behind our food illustrations.
Explore the tiny kitchen