Organise a gluten-free recipe notebook by splitting it into a handful of broad sections, such as everyday dinners, baking, packed lunches and recipes still to try, marking confirmed recipes clearly apart from drafts, and adding a one-page index at the front so you can find anything by name in seconds.
I don't think a notebook needs colour-coded tabs or a beautifully ruled contents page before it's useful, but it does need some kind of system, because a pile of tested recipes with no way to sort them is really just a diary. Here's how I'd organise one so it answers "what can I cook tonight" as easily as it answers "what did I try last month".
How do I organise a gluten-free recipe notebook into sections?
A rough set of sections is enough: everyday dinners, baking, packed lunches, and a page at the back for things you still want to try. The exact categories matter less than having any categories at all, because the point is to stop yourself searching page by page when dinner is already running late.
Keep drafts and confirmed recipes visually separate. A recipe you're still adjusting and one you've settled on look identical on the page unless you mark the difference somehow — a coloured sticker, a tick in the corner, or simply the word "confirmed" written above the title. Otherwise you risk cooking from an early attempt by mistake, on a night when you don't have time to notice it wasn't the final version.
A one-page index at the front, listing recipe names against page numbers, takes ten minutes to set up and saves a lot of flicking later. For a digital notebook, the equivalent is a consistent naming convention for entries, so a search actually turns up what you're after.
How do I keep track of which recipes actually work?
Somewhere in most notebooks is a small number of recipes you make often, sitting among a much larger number you tried once. I'd give those regulars their own short page — a "recipes that work" list, separate from the full collection, that you can glance at when planning a week's meals rather than reading through every entry to remember what's actually reliable.
This shortlist is also the page to hand to anyone else in the house who's cooking. A tested, confirmed recipe is far more useful to someone else than a page still covered in crossings-out and question marks, however informative those notes were to you at the time.
A recipe only earns a place on the shortlist once it's been made more than once with the same result. One good outcome might be luck; a second one starts to look like a recipe you can rely on.
Note what a recipe is for, not just what's in it
Ingredients and method tell you how to make something. They don't tell you when you'd choose to. A short line of practical tags next to the title — feeds four, freezes well, needs the food processor, better the next day — turns the notebook into something you can search by occasion, not only by name.
This is different information from the cooking notes themselves, and it's worth keeping distinct. "Freezes well" is a fact about the finished dish; "add the herbs at the end, not the start" is a fact about the method. Mixing the two into one block of text makes both harder to spot when you're scanning in a hurry.
Over time, these tags let you answer questions the recipe titles alone can't: what's quick enough for a weeknight, what can go in a lunchbox, what needs planning a day ahead. That's often more useful day to day than the recipe's full history of attempts.
Give a confirmed recipe a proper, tidied write-up
Testing notes are working documents — dated, messy, full of corrections. Once a recipe reaches the shortlist, I'd give it a clean final write-up rather than leaving people to read through the working notes to find the version that actually worked. State the ingredients and quantities plainly, in the order you use them, with nothing left as "adjust to taste" if you know exactly what you settled on.
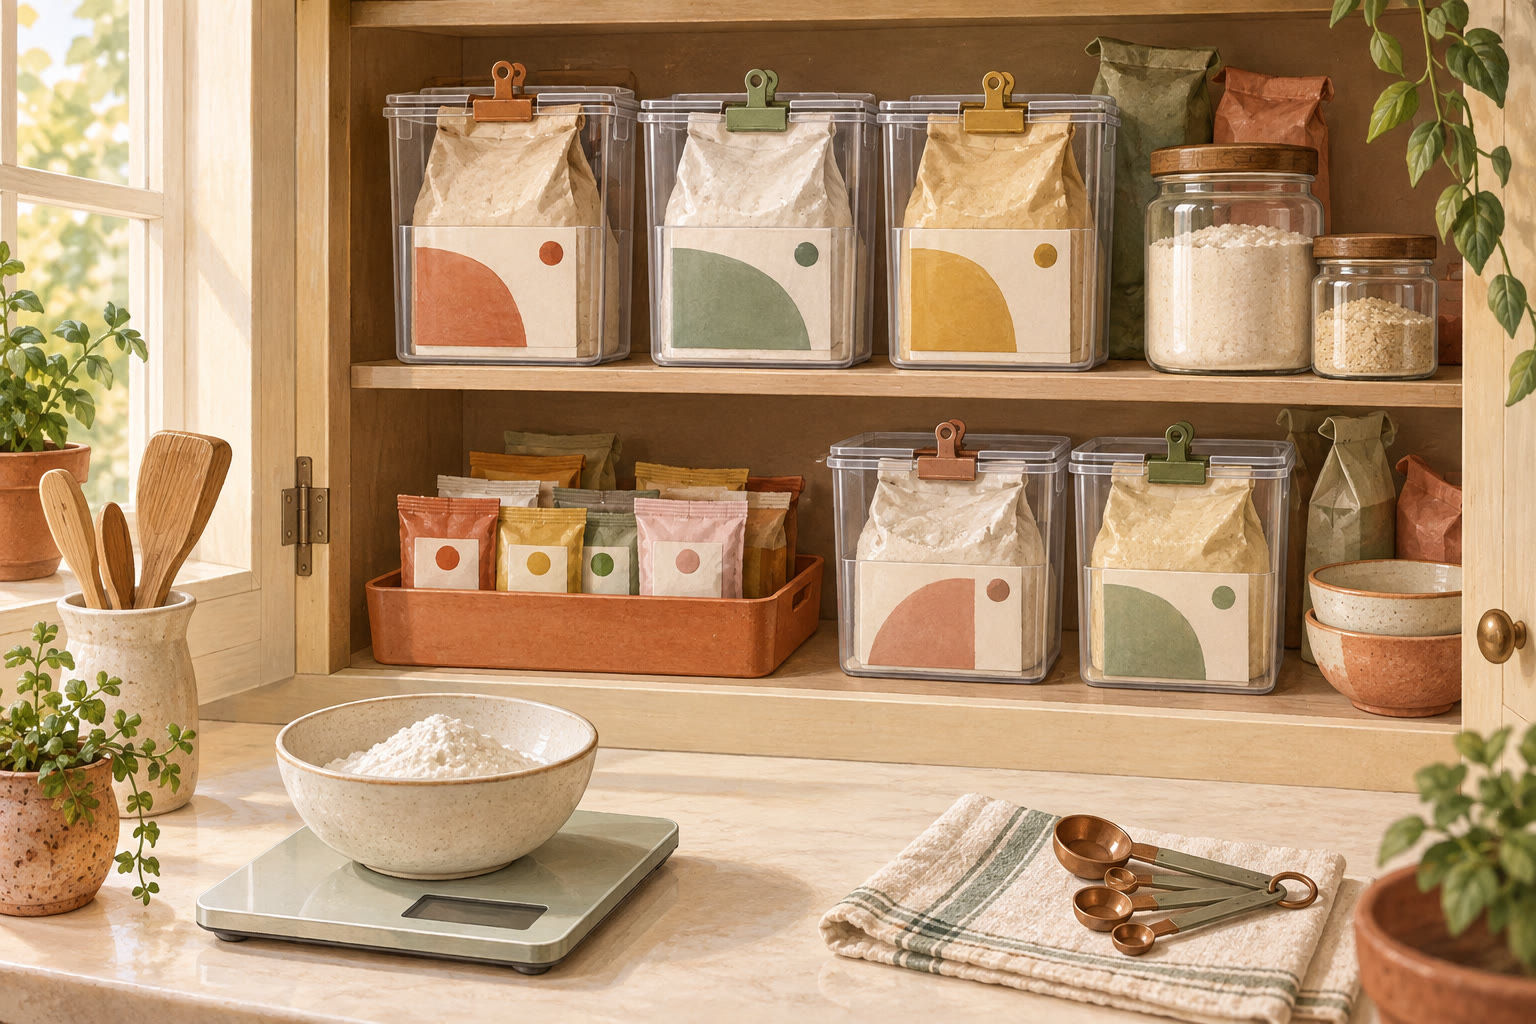
Weighing ingredients properly for this final version, rather than eyeballing them the way you might during an early attempt, makes the write-up something you can trust and repeat exactly. A Digital kitchen scale for precise flour weighing is useful here if you don't already have one you're happy with — the aim is a tidy, accurate record, not new equipment for its own sake.
How often should I review a recipe notebook?
A notebook that only ever gains pages eventually becomes as hard to search as no notebook at all. Every so often, I'd go through it and move anything you've decided against onto a "not repeating" list rather than deleting it outright — the reason it didn't work can still be useful information if a similar idea comes up again.
At the same time, check the shortlist is still accurate. Tastes change, and a recipe that felt essential a year ago might not have been made since. Keeping the confirmed list honest is what keeps it worth trusting the next time you reach for it instead of searching online again.
A recipe notebook isn't a finished object. It's closer to a filing system that gets slightly better every time you tidy it, and slightly less useful every time you don't.
#ad. This post contains Amazon affiliate links. As an Amazon Associate I earn from qualifying purchases.
Nora is our brand character. Health information is sourced separately and should support conversations with your care team, not replace them.