Everyday dinners
Gluten-free red velvet cake
Two cocoa and vanilla sponges with a red crumb and a cream cheese frosting.
Free guide: thirty gluten-free dinners, with the shopping lists
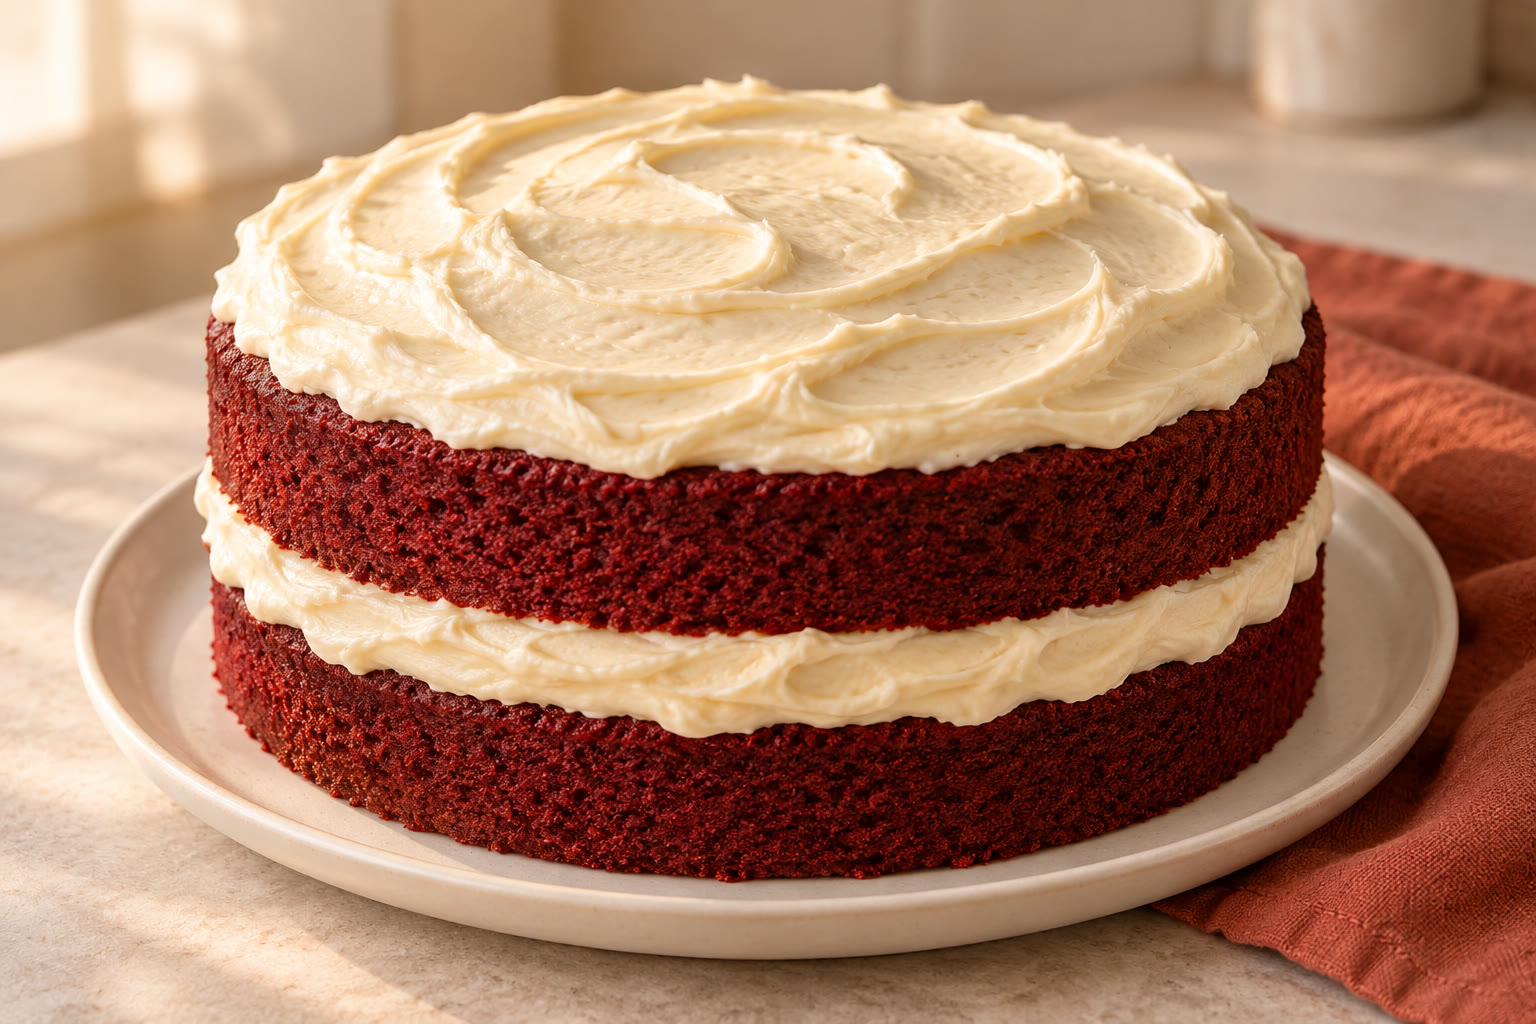
Red velvet has a little cocoa, plenty of vanilla and a tangy cream cheese topping. This gluten-free version makes two layers, with frosting between them and across the top.
Use red gel colouring labelled as suitable for baking: the finished shade depends on the brand. Allow time for the sponges to cool completely before adding the frosting.
The recipe
Gluten-free red velvet cake
- Prep
- 35 min
- Cook
- 35 min
- Total*
- 70 min
- Makes
- 12 servings
*Estimated development timings. Allow about 90 minutes for cooling, including 10 minutes in the tins, then at least 30 minutes chilling after assembly. These are additional to the 70 minutes preparation and baking time. Soft frosting may need another 20–30 minutes in the fridge before assembly, and the finished cake may need longer to firm up.
Ingredients
Tick things off as you go.
For the sponges
For the frosting
Equipment
- Use two round cake tins measuring 20 cm across and at least 5 cm deep.
- Use baking paper to line the tins.
- Use digital scales, measuring spoons and a measuring jug.
- Use two mixing bowls, a sieve and an electric hand mixer.
- Use a flexible spatula, a skewer and two cooling racks.
- Use a serving plate, a palette knife and a covered cake container that fits in the fridge.
Let’s make it.
- 01
Prepare the tins
Heat the oven to 180°C / 160°C fan. Brush the tins with the sunflower oil and line their bases with baking paper. Check that the paper sits flat and both tins fit on the middle shelf with space around them.
- 02
Mix the dry ingredients
Sift the flour, cocoa, xanthan gum if needed, baking powder, bicarbonate of soda and salt into a bowl. Stir until the mixture is evenly coloured with no pockets of cocoa.
- 03
Beat the butter and sugar
Beat the sponge butter and caster sugar for about 3 minutes until paler and fluffy. Beat in the eggs individually, scraping the bowl after each, until no streaks of egg remain.
- 04
Finish the batter
Mix the buttermilk, 2 tsp sponge vanilla, vinegar and colouring in the jug until evenly red, keeping within the colouring label's maximum dose. On a low speed, add the dry mixture to the butter mixture in three portions, alternating with two portions of the buttermilk mixture. Scrape the bowl and mix briefly until no dry flour remains. Do not taste raw batter.
- 05
Bake the layers
Divide the batter equally between the tins, smooth the surfaces and bake straight away for 30–35 minutes. The centres should spring back gently and a skewer should emerge without wet batter. If needed, bake for another 3–5 minutes and check again. While they bake, wash your hands and clean utensils and surfaces that touched raw batter before preparing the frosting.
- 06
Cool the sponges
Leave the cakes in their tins for 10 minutes, then carefully turn them onto racks and remove the paper. Allow roughly 80 minutes more to cool. Before frosting, check that the tops and undersides feel completely cool.
- 07
Make the frosting
Beat the frosting butter until smooth. Work in the icing sugar in small portions, starting with a spatula to contain the dust, then beat until evenly combined; the mixture will be stiff. Add the chilled cream cheese and the 1 tsp vanilla listed for the frosting. Mix on a low speed only until smooth and spreadable, stopping to scrape the bowl as needed. The frosting should hold a soft mound on a spoon. If it slumps, refrigerate for 20–30 minutes and check again before spreading.
- 08
Fill and finish
Place one sponge on the plate and spread half the frosting over it. Set the second sponge on top and spread over the rest, leaving the sides bare. Refrigerate for at least 30 minutes and check that the filling holds the layers steady before slicing; chill longer if needed. Keep the cake chilled until serving.
Ingredient checks
Choose gluten-free flour, cocoa, baking powder and baking gel colouring, and check the xanthan gum, bicarbonate of soda, icing sugar, vanilla and vinegar labels for suitability. Use a cake flour blend rather than a bread mix, and omit added xanthan gum if it is already present. Check colouring dosage and baking suitability before measuring. For someone with coeliac disease, use clean tins, bowls, sieves and utensils, fresh baking paper and ingredients protected from gluten cross-contamination.
Allergens: Contains eggs and milk, including the butter, buttermilk and cream cheese.; The specified ingredients do not intentionally include celery, cereals containing gluten, crustaceans, fish, lupin, molluscs, mustard, tree nuts, peanuts, sesame, soya or sulphites; check all labels because blends, colouring and manufacturing warnings vary.; Gluten-free flour containing specially processed wheat starch must still declare wheat and is unsuitable for someone with a wheat allergy..
Make it work for you
Replace the 250 ml buttermilk with 235 ml whole milk mixed with 15 ml lemon juice; leave for 10 minutes until slightly thickened, and retain the separate teaspoon of vinegar.
Cider vinegar can replace the distilled white vinegar in the same quantity; check its gluten-free suitability and sulphite declaration.
You can omit the red colouring without replacing it; the sponge will be cocoa-brown.
Use a gluten-free flour blend intended for cakes; coconut flour, almond flour and single-grain flours are not direct replacements.
These substitutions have not been kitchen-tested in this recipe.
For another day
Cover the finished cake and refrigerate at 0–5°C because the frosting contains cream cheese; use within 48 hours or sooner if an ingredient's use-by or opened-storage instructions require it.
Keep the cream cheese refrigerated until making the frosting, return the assembled cake to the fridge promptly and bring out only the slices needed for serving.
For making ahead, wrap the completely cooled, unfrosted sponges and freeze promptly for up to two months as a suggested quality limit; freezing quality has not been tested for this recipe.
Defrost wrapped sponges in the fridge until thawed throughout, then frost and eat within 24 hours of full defrosting.
Exploding food
What goes in.
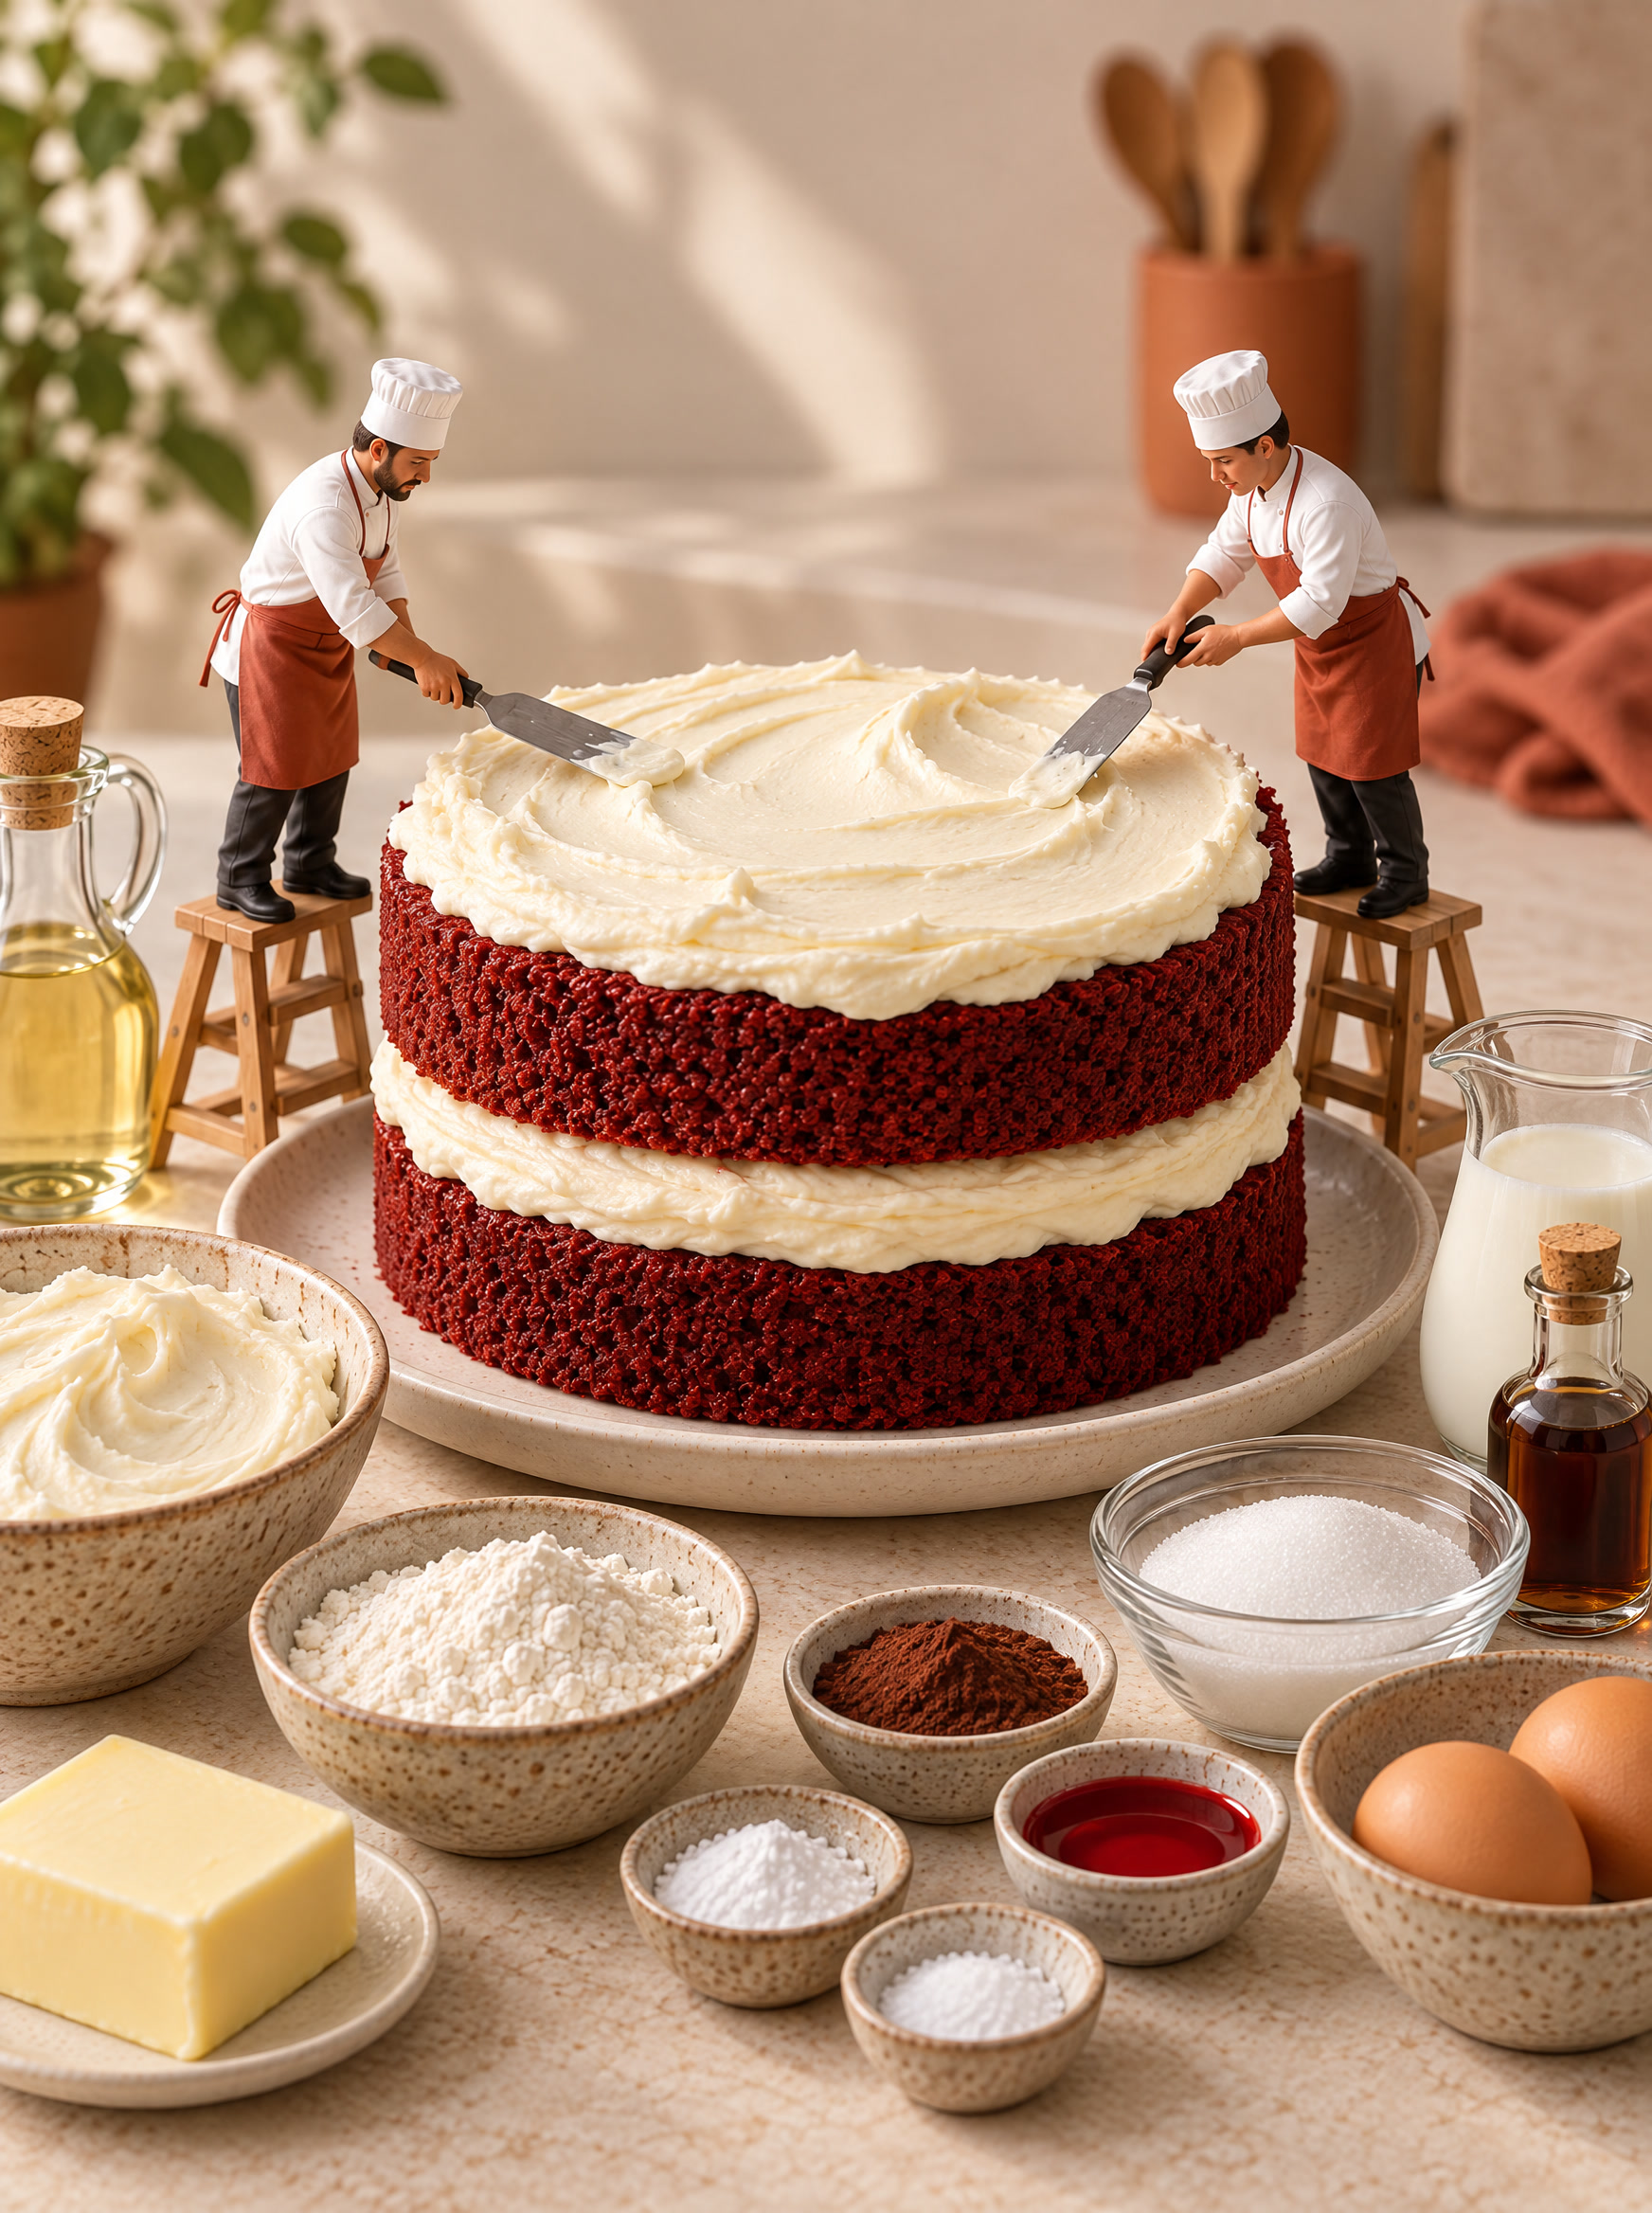
The ingredients, seen a little differently. This image is an illustration of the main ingredients; use the written recipe for the full list and quantities.
See the collection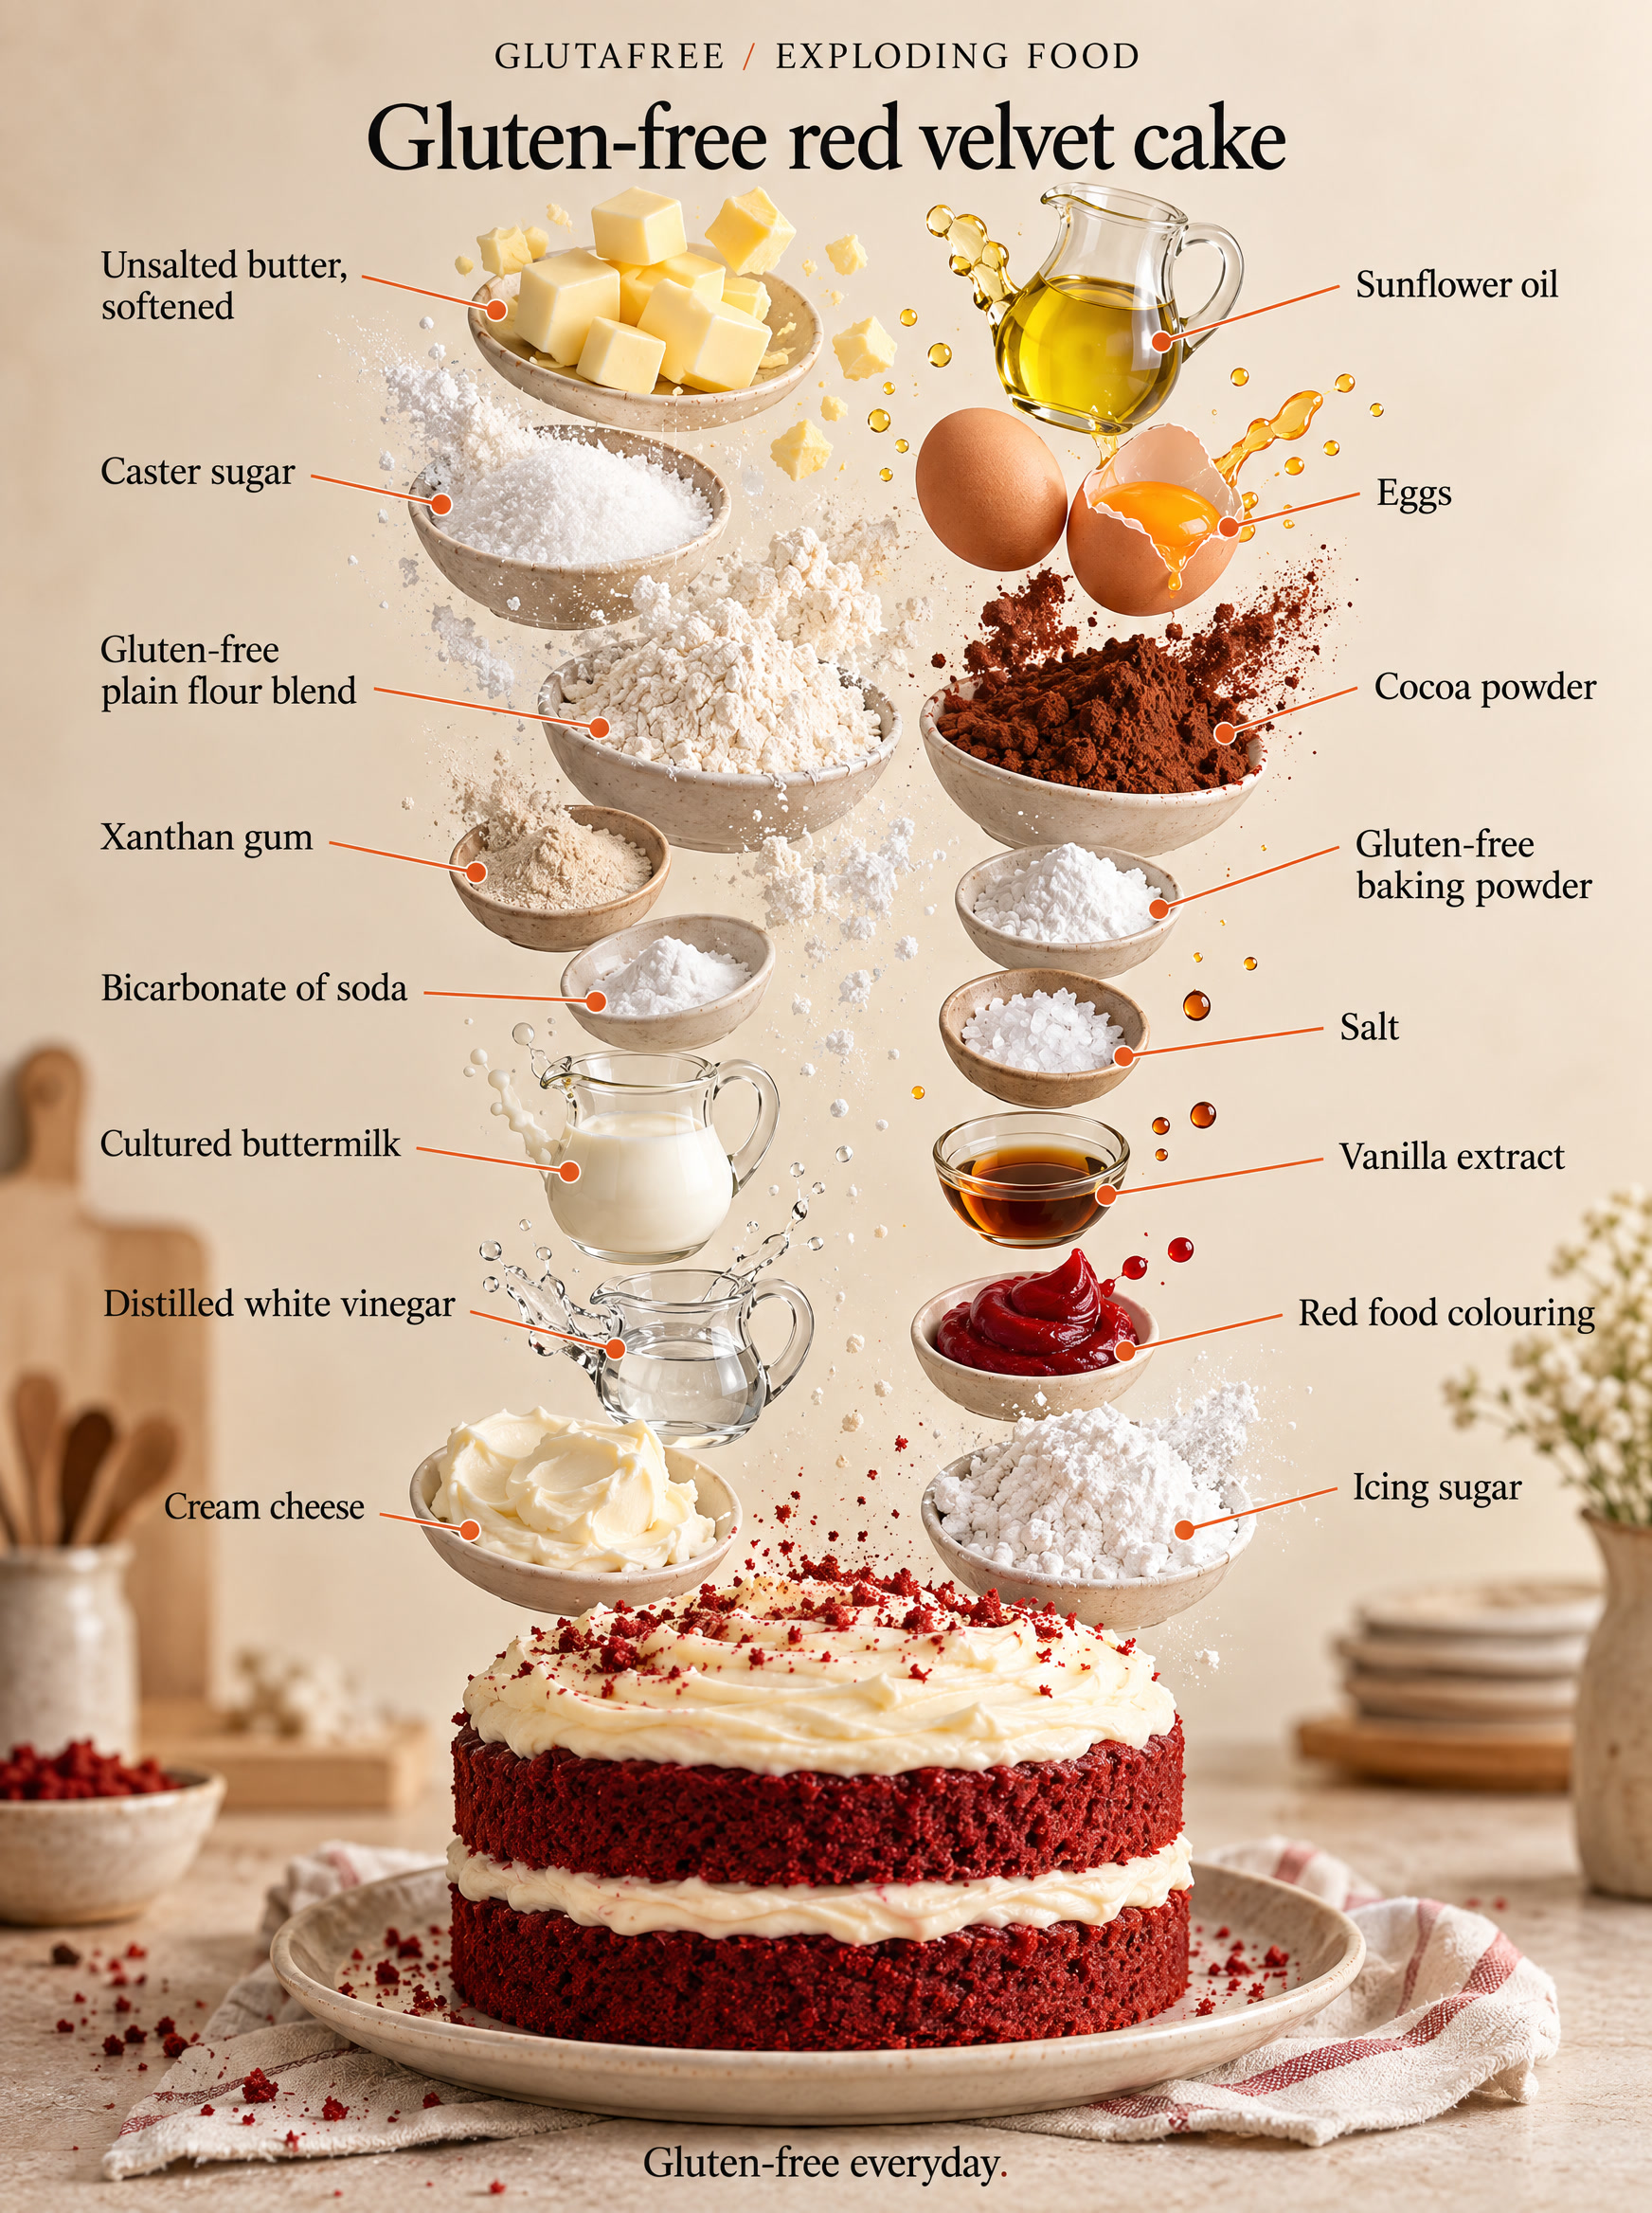
The miniature kitchen
Tiny chefs.
Big ideas.
A playful look at the same familiar favourite. Meet the little team behind our food illustrations.
Explore the tiny kitchen