Cakes and baking
Gluten-free vanilla cake
A simple square vanilla sponge with a thin vanilla glaze, ready to cut into nine pieces.
Free guide: thirty gluten-free dinners, with the shopping lists
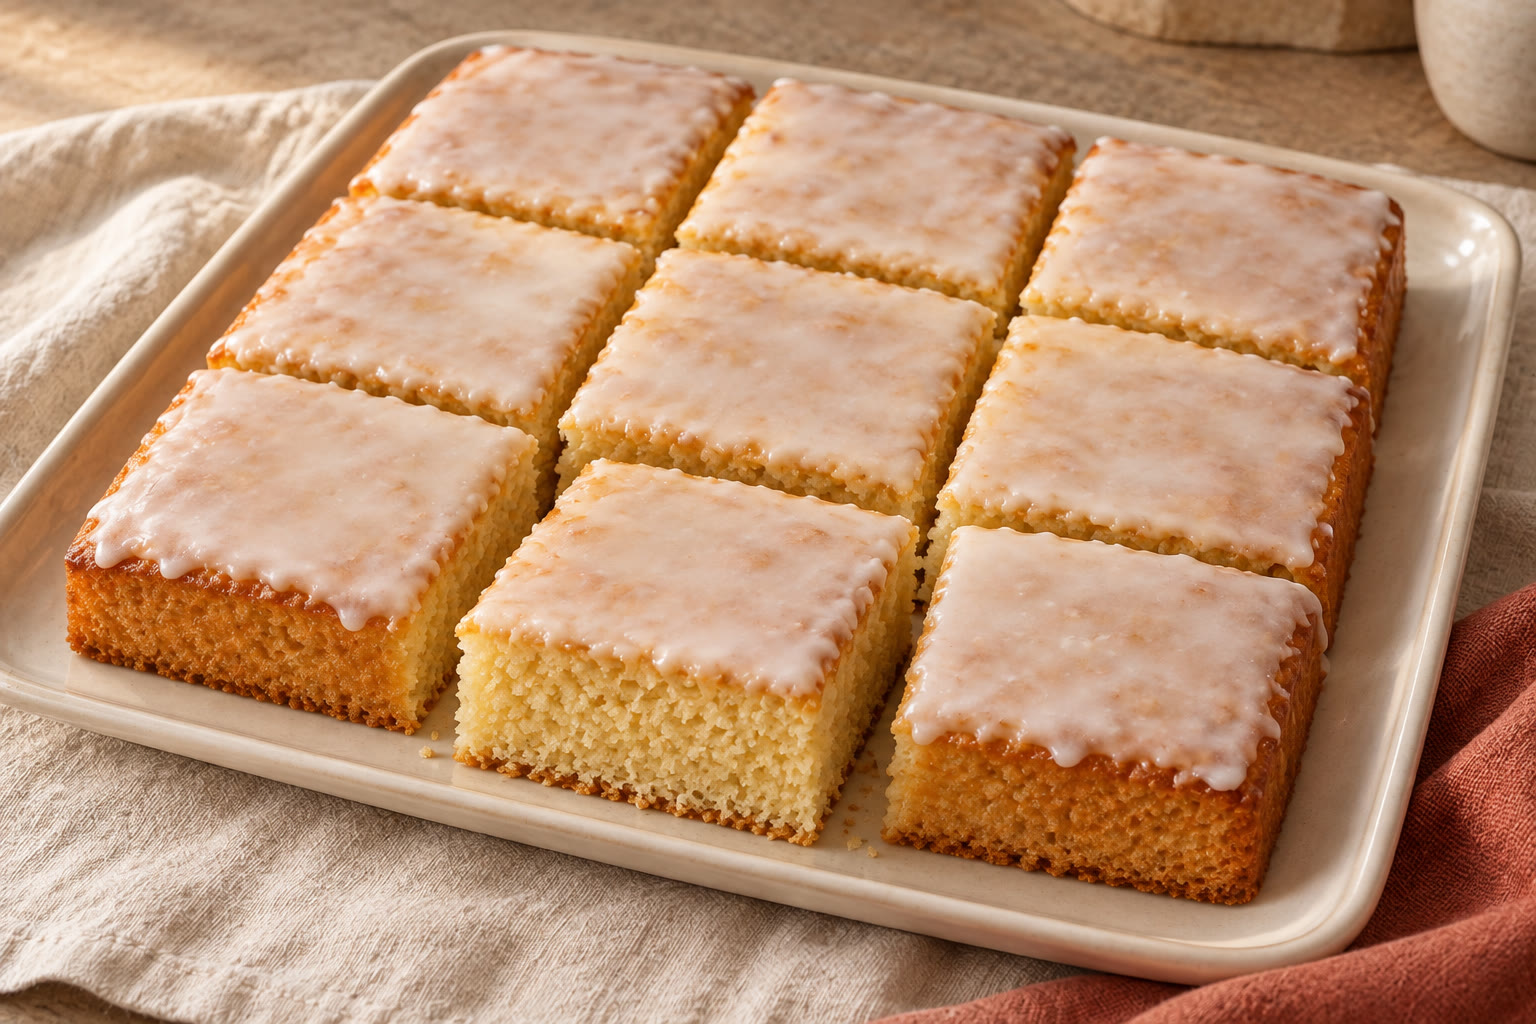
This small vanilla cake is baked in one square tin and finished with a simple glaze. There is no filling to make: let the sponge cool, spoon over the icing and cut into squares.
Use a gluten-free self-raising flour blend intended for cakes. Different blends absorb liquid differently, so follow the batter and baking checks as well as the timings. Allow about 2 hours 25 minutes including cooling and setting, or longer if the cake needs extra baking or cooling. This recipe is in development and has not been kitchen-tested.
The recipe
Gluten-free vanilla cake
- Prep
- 25 min
- Cook
- 40 min
- Total*
- 65 min
- Makes
- 9 servings
*Estimated development timings. Allow 10 minutes standing in the tin, about 50 minutes further cooling and 20 minutes for the glaze to set. These additional 80 minutes are excluded from the total above, making the estimated elapsed time 2 hours 25 minutes. Allow longer if the cake needs extra baking or cooling.
Ingredients
Tick things off as you go.
For the sponge
For the vanilla glaze
Equipment
- Use a 20 cm square cake tin at least 5 cm deep.
- Have baking paper, kitchen scales and measuring spoons ready.
- Use a large mixing bowl, a small bowl and a jug.
- Use an electric hand mixer and a flexible spatula.
- Have a sieve, a skewer and a wire cooling rack ready.
Let’s make it.
- 01
Prepare the tin
Heat the oven to 180°C / 160°C fan. Line the base and sides of the tin with baking paper, leaving enough above two opposite sides to lift out the cake. Check that the paper sits neatly in the corners. Wash your hands and use clean equipment and surfaces free from flour dust and crumbs.
- 02
Beat the butter and sugar
Beat the butter and caster sugar together for 3–4 minutes, scraping down the bowl halfway through. The mixture should look noticeably paler and fluffier, with no firm lumps of butter.
- 03
Add the eggs
Beat the eggs in the jug, then mix them into the butter a little at a time. Add the sponge's vanilla extract. If the mixture starts to look curdled, mix in a spoonful from the measured flour. Stop when there are no visible streaks of egg.
- 04
Finish the batter
Fold the remaining flour into the bowl with the milk. Scrape around the base until no dry pockets remain; the batter should drop from the spatula in soft dollops. Spread it evenly into the tin, reaching all four corners. Do not taste raw batter. Wash your hands and clean utensils and surfaces after handling raw flour and eggs.
- 05
Bake the cake
Allow 30–40 minutes for baking on the middle shelf, checking first at 30 minutes. The surface should be golden, the centre should spring back when lightly pressed and a skewer inserted into the middle should have no wet batter on it. If it is not ready, continue baking and check every 3–5 minutes. The stated cooking time allows 40 minutes; ovens and flour blends vary, so allow longer if these checks are not met. The cake must be cooked through before cooling.
- 06
Cool the sponge
Leave the cake in its tin for 10 minutes, then lift it carefully onto the rack using the paper. Gently ease the paper away from the sides and leave for about 50 minutes more. The centre and underside should feel completely cool before glazing; allow longer if needed.
- 07
Glaze and slice
Sift the icing sugar into the clean small bowl. Stir in the remaining vanilla extract and 10 ml water, adding the remaining water a little at a time only if needed. The glaze should fall from the spoon in a thick ribbon. Spread it thinly over the cooled cake and leave for about 20 minutes, until the surface is no longer runny. Cut into nine squares.
Ingredient checks
Use a labelled gluten-free self-raising cake flour blend, not ordinary self-raising flour or a single flour such as coconut flour. The blend already contains raising agents; no additional baking powder is needed. Check whether the blend already contains xanthan gum. Check the vanilla, icing sugar and any substitutes for gluten-free suitability and allergen declarations. For someone with coeliac disease, prevent cross-contamination from shared sieves, mixers, tins, cooling racks, worktops and opened ingredient containers. Review labels against all 14 UK allergens: celery, cereals containing gluten, crustaceans, eggs, fish, lupin, milk, molluscs, mustard, tree nuts, peanuts, sesame, soya and sulphites.
Allergens: Contains eggs and milk.; No other UK-regulated allergens are deliberately included in the specified ingredients, but flour blends and substitute products can introduce additional allergens; check every label..
Make it work for you
If your gluten-free self-raising flour blend contains no xanthan gum or other thickener, mix ¼ tsp gluten-free xanthan gum into the flour before folding it into the batter; omit this addition when the blend already contains a thickener.
For a dairy-free version, replace the butter with the same weight of dairy-free baking block and the milk with 30 ml unsweetened gluten-free plant drink; check for soya or tree nuts, and expect a possible change in texture.
Replace vanilla extract with the same quantity of gluten-free vanilla bean paste if preferred.
These substitutions have not been kitchen-tested in this recipe.
For another day
Once completely cool and the glaze has set, keep the cake in an airtight container in a cool, dry place and eat within two days.
For longer storage, wrap cooled, unglazed portions individually, place in a freezer container and freeze promptly; use within one month for best quality.
Defrost covered in the fridge until the centre is fully thawed and eat within 24 hours of defrosting; glaze after thawing if desired.
Storage quality and freezing performance have not been tested for this recipe.
Exploding food
What goes in.
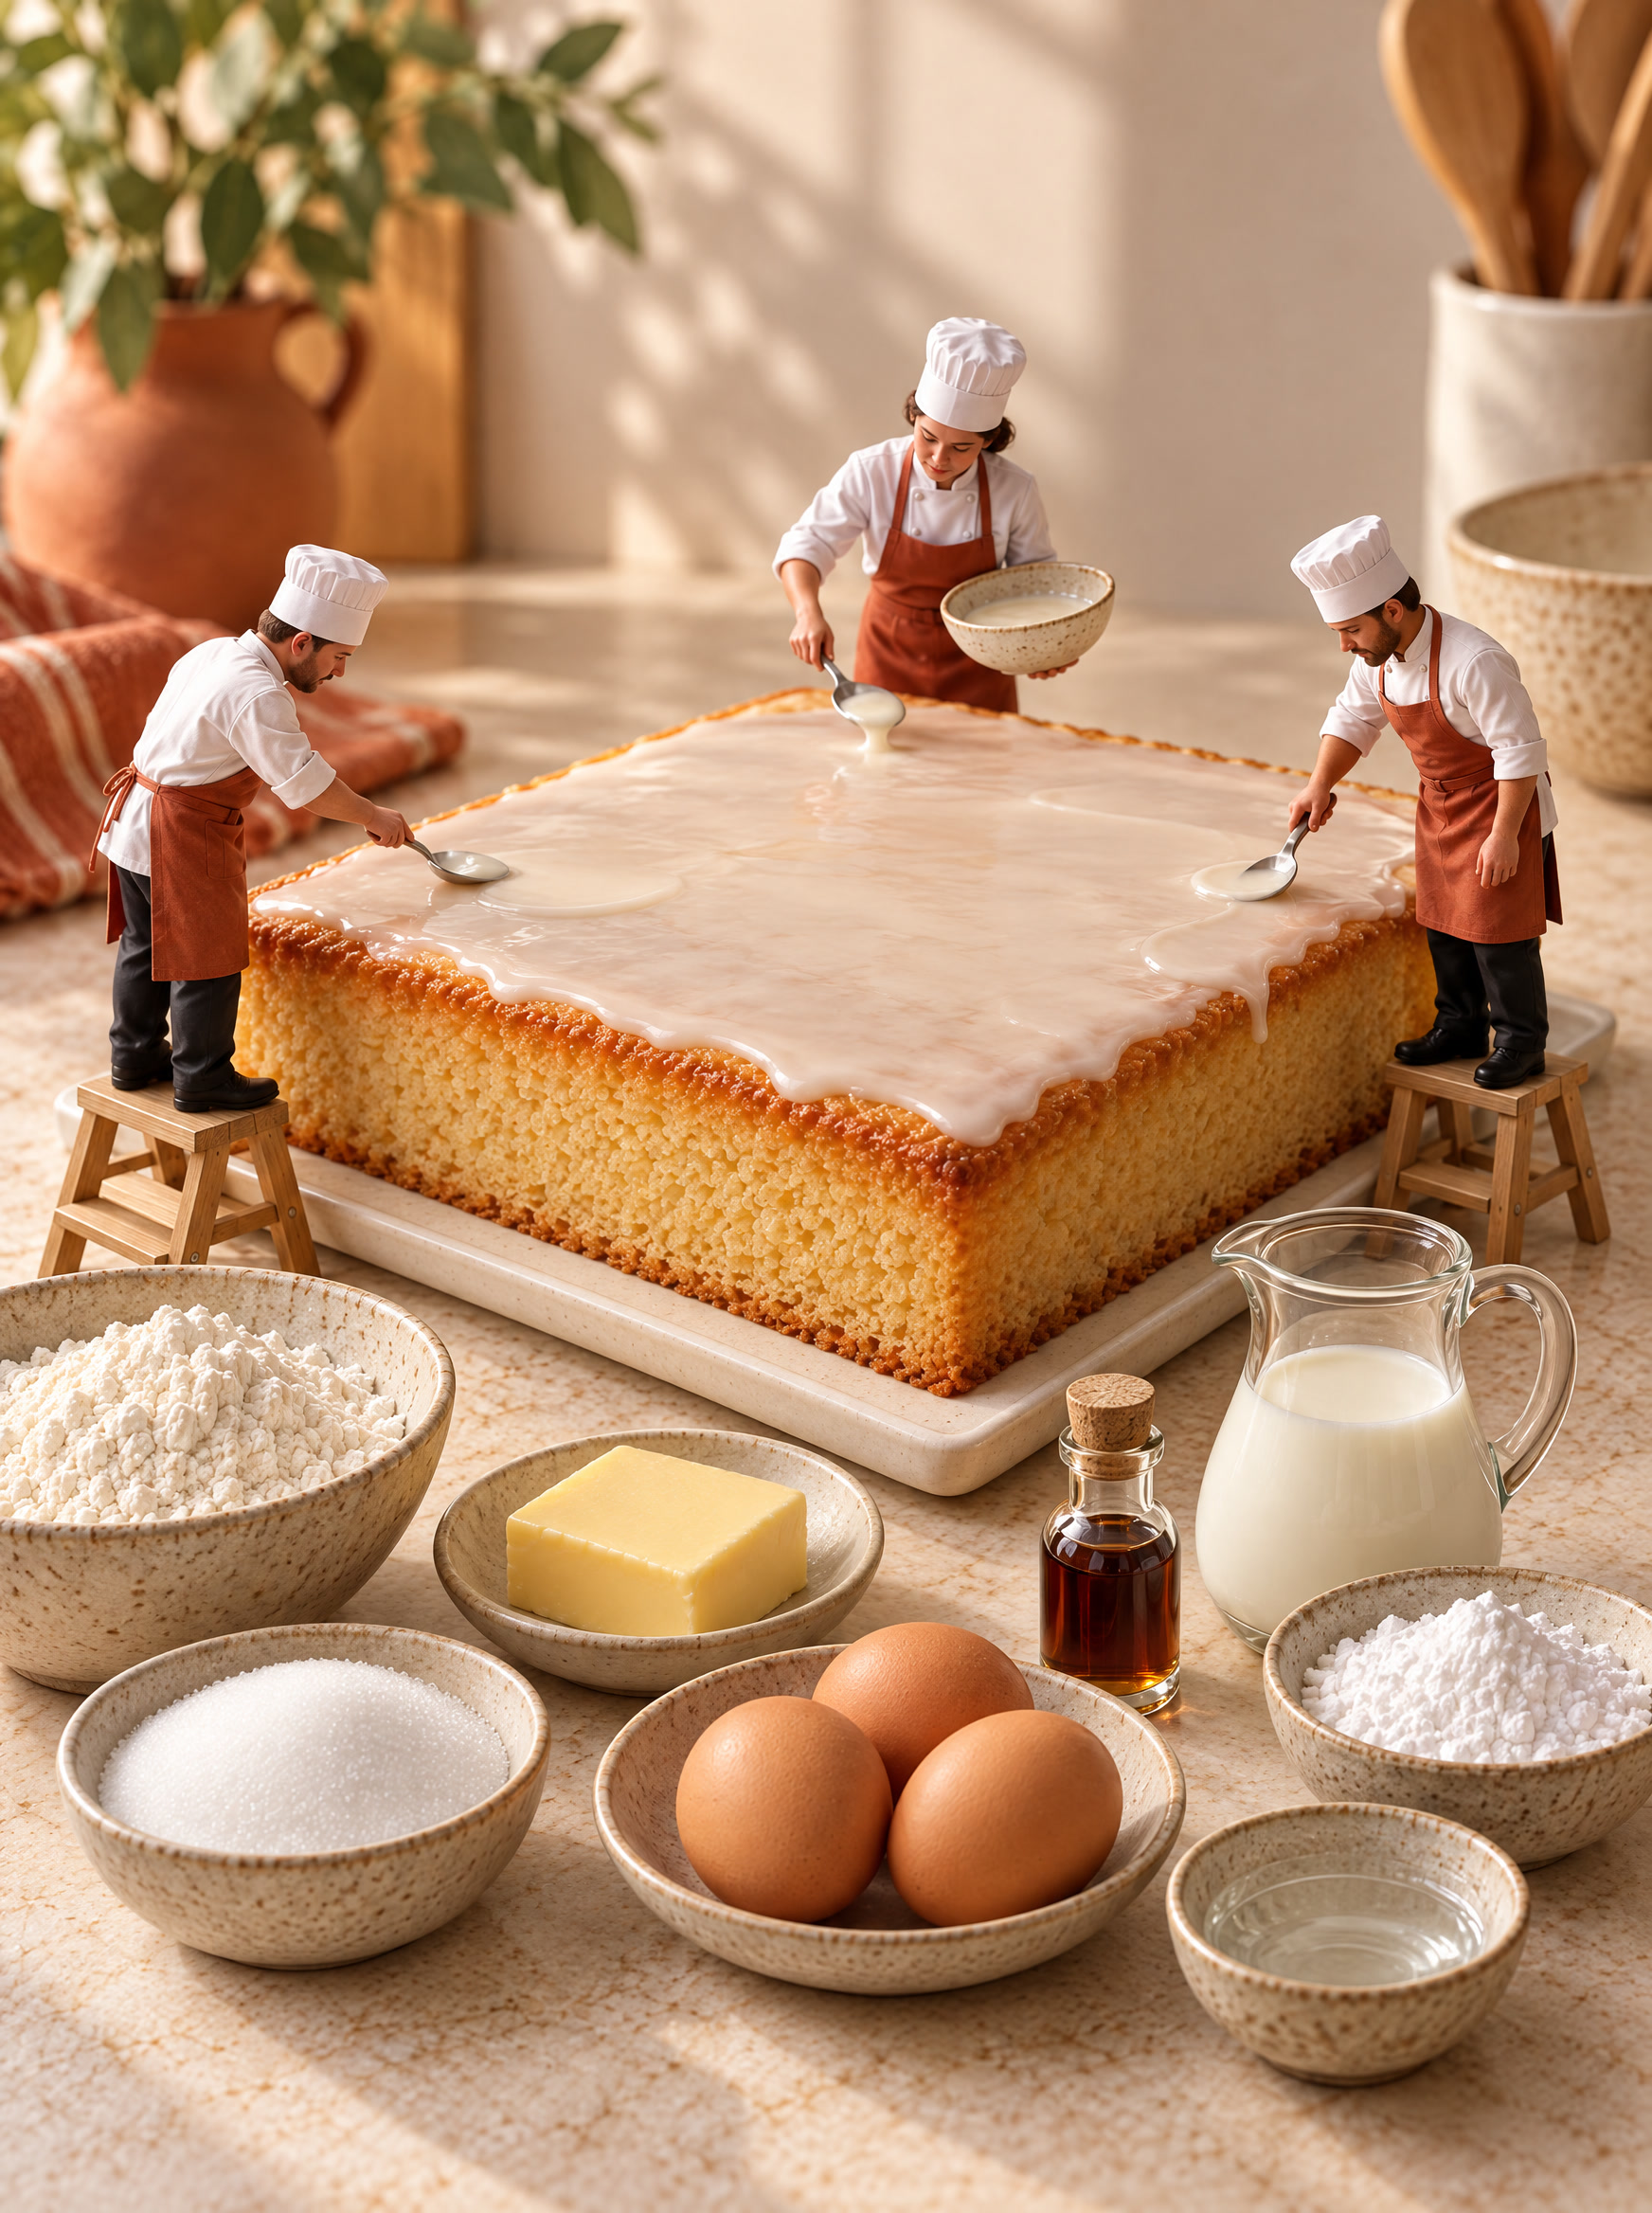
The ingredients, seen a little differently. This image is an illustration of the main ingredients; use the written recipe for the full list and quantities.
See the collection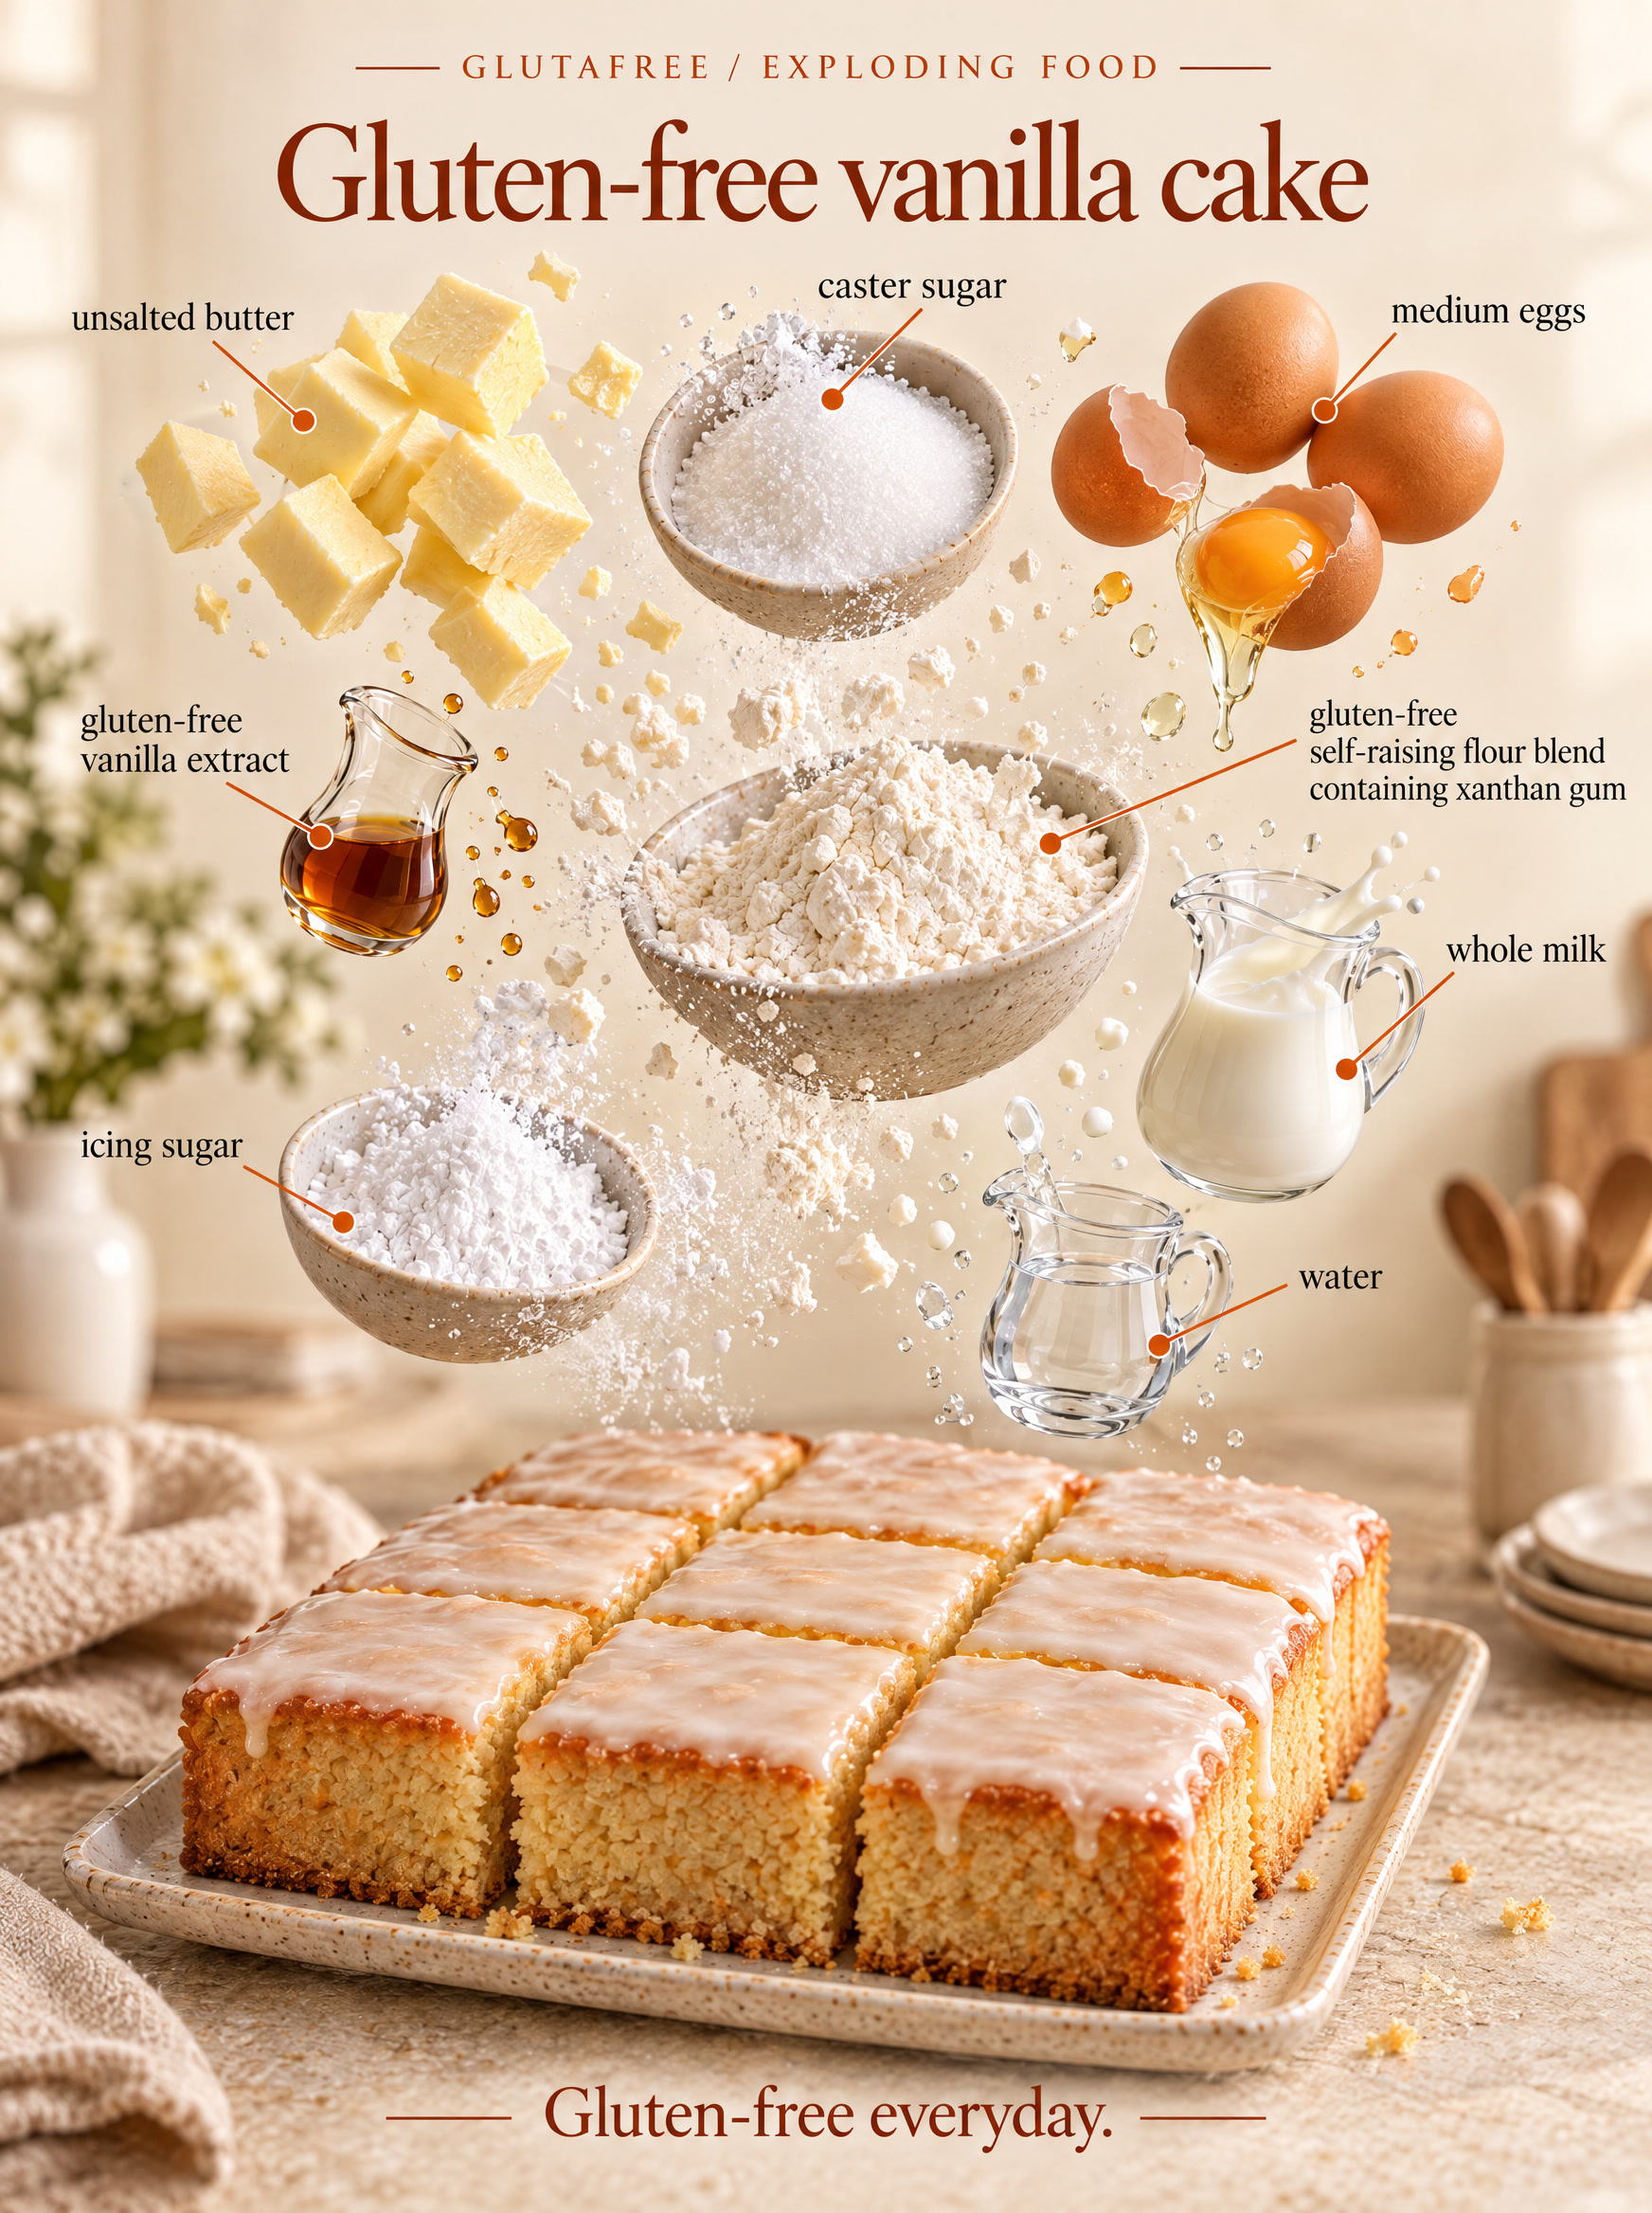
The miniature kitchen
Tiny chefs.
Big ideas.
A playful look at the same familiar favourite. Meet the little team behind our food illustrations.
Explore the tiny kitchen